Network 39

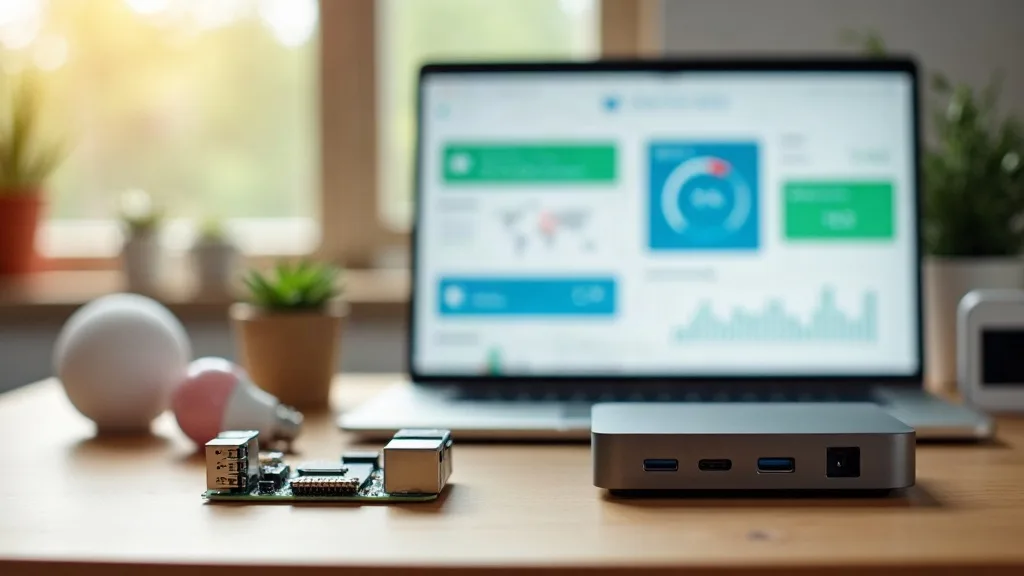

Home Assistant is one of those projects that sounds complicated until you actually sit down and do it. Once you install Home Assistant properly, you get a single dashboard that controls your lights, sensors, cameras and smart plugs, without sending your data through someone else's cloud server. This guide walks you through choosing the right hardware, picking an installation method, and getting Home Assistant OS running from scratch.
Budget half an hour to an hour for the whole process, most of which is waiting for software to copy itself onto a memory card. The actual difficulty is low. You don't need to know any code, and you don't need to be an IT professional. You just need to follow the steps in order.
What You'll Need
- A Raspberry Pi (4 or 5 recommended) or a mini PC with at least 2GB of RAM and 32GB of storage
- A microSD card (16GB minimum, 32GB or larger preferred) if you're using a Raspberry Pi
- A USB stick or SSD if you're installing on a mini PC
- A computer to prepare the installation media
- A wired Ethernet connection (strongly recommended over Wi-Fi for this device)
- A stable power supply
- 20 to 30 minutes of uninterrupted time
Step 1: Decide Between a Raspberry Pi and a Mini PC
Before touching any software, work out what you're installing it on. This decision affects which installer you use and how smoothly things run later.
A Raspberry Pi is the classic choice. It's small, quiet, cheap to buy, and there's a huge community around using it for Home Assistant. The downside is limited processing power, which can matter if you add lots of integrations, cameras, or voice assistants later.
A mini PC gives you more headroom. It handles more devices, more automations, and extra add-ons like Pi-hole or a media server without slowing down. If you're planning to build a wider home lab around this project, it's worth reading our guide to the best mini PCs for a home lab before you buy anything.
As a rough guide:
- Choose a Raspberry Pi if you want a dedicated, low-power box just for Home Assistant.
- Choose a mini PC if you expect to add other services, run more than 50 to 100 devices, or want room to grow.
Either option works fine for a beginner setup. Don't overthink this part.
Step 2: Pick Your Installation Method
Home Assistant isn't just one thing. It's actually distributed in a few different ways, and that trips people up.
The four main options are:
- Home Assistant OS – a full operating system dedicated to Home Assistant. It handles updates, backups, and add-ons through the interface, so you rarely touch the command line. This is what we'll install in this guide.
- Home Assistant Container – runs inside Docker on an existing operating system. Good if you already have a home lab server running other things.
- Home Assistant Supervised – similar to the OS version but installed on top of a general Linux system. It's trickier to set up and officially discouraged for beginners.
- Home Assistant Core – just the core software with no supervisor or add-on support. This is the most hands-on option and best suited to experienced Linux users.
For almost everyone starting out, Home Assistant OS is the right call. It gives you the full experience, including the add-on store, with the least amount of fiddling. That's the version this guide covers from here on.
If you're new to running your own hardware for projects like this, our home lab for beginners guide is a useful companion piece, since a lot of the same principles apply.
Step 3: Download the Home Assistant Flashing Tool
Home Assistant OS gets written onto your SD card or USB drive using a free tool.
- On your main computer, open a browser and search for "Home Assistant Flash".
- Download and install the official flashing tool for your operating system (Windows, Mac, or Linux versions are all available).
- Open the tool once it's installed.
This tool does the heavy lifting of downloading the correct Home Assistant OS image and writing it to your storage device correctly, so you don't need to source the image file separately.
Step 4: Flash Home Assistant OS Onto Your Storage
Now you'll write the operating system onto the SD card (Raspberry Pi) or USB drive/SSD (mini PC).
- Insert your microSD card or USB drive into your main computer.
- Open the flashing tool and select your board type: Raspberry Pi model, or generic x86-64 for most mini PCs.
- Choose the storage device you just inserted. Double-check you've picked the right one, since this step will erase anything already on it.
- Click to start flashing and wait. This usually takes five to fifteen minutes depending on your card's speed.
- Once it's finished, safely eject the card or drive from your computer.
If you're installing on a mini PC that doesn't support booting from USB reliably, an internal SSD is a better long-term choice. Check your mini PC's boot settings in the BIOS if it doesn't boot straight away.
Step 5: Insert the Media and Power On
- Insert the microSD card into your Raspberry Pi, or connect the USB drive/SSD to your mini PC.
- Connect an Ethernet cable from the device to your router. A wired connection makes the first boot far more reliable than Wi-Fi.
- Plug in the power. Don't unplug it again until setup finishes, even if nothing seems to be happening for a while.
- Wait. The first boot can take ten to twenty minutes, since the system is expanding itself and installing components in the background.
If you're unsure whether Ethernet or Wi-Fi is the better long-term connection for smart home gear, our comparison of 2.4GHz vs 5GHz Wi-Fi explains the trade-offs, though Ethernet remains the most stable option for the Home Assistant device itself.
Step 6: Find Home Assistant on Your Network
- On another device connected to the same network, open a browser.
- Go to
homeassistant.local:8123. - If that address doesn't load, try the device's IP address instead, which you can usually find in your router's connected devices list.
- Wait for the onboarding screen to appear. If you see a "preparing" message, give it a few more minutes and refresh.
This step catches people out because the webpage won't load until Home Assistant has fully finished its first boot sequence. Patience is the only fix here.
Step 7: Create Your Account and Home
- Once the onboarding screen loads, create a username and password. Choose something memorable, since this becomes your main login for the dashboard.
- Enter your home's name and location. This helps Home Assistant calculate things like sunrise and sunset times for automations later.
- Confirm your time zone and unit preferences.
- Click through the analytics and location detail prompts, adjusting privacy settings as you prefer.
Step 8: Let Home Assistant Discover Devices
Home Assistant automatically scans your network for compatible smart devices during setup.
- Review the list of discovered devices on screen.
- Select the ones you want to add now. You can always add more later from the integrations menu.
- Follow any on-screen prompts to authorise each device, which sometimes involves entering a code or pressing a button on the device itself.
Not every smart device speaks the same language. Some use Wi-Fi, others use Zigbee, Z-Wave, or Thread, and that affects what Home Assistant can see straight away. If you want to understand how these different device types fit together before buying more gadgets, it's worth reading the broader smart home protocols guide on the site, which breaks down what each standard is actually good for.
Step 9: Secure Your Setup and Explore the Dashboard
- Go to Settings and check that automatic backups are turned on, so you don't lose your configuration later.
- Browse the default dashboard, which Home Assistant builds automatically from your discovered devices.
- Rename rooms and devices so they make sense to you rather than using generic factory names.
- If you want extra features like ad blocking running alongside Home Assistant on the same hardware, you could look at our guide to setting up Pi-hole, though running it as a separate add-on or device is usually cleaner.
At this point, Home Assistant is fully installed and usable. Everything from here is customisation.
Common Mistakes to Avoid
- Using Wi-Fi for the initial setup. It works eventually, but Ethernet is far more reliable for the first boot and ongoing stability.
- Pulling the power during the first boot. The system is writing files and expanding storage. Interrupting this can corrupt the installation.
- Choosing the wrong board type when flashing. Picking the wrong Raspberry Pi model or the wrong architecture for a mini PC will stop it booting at all.
- Using a cheap or old microSD card. Slow or worn-out cards cause random crashes down the line. Spend a little more on a decent one.
- Forgetting to enable backups. It's easy to skip this during onboarding, then regret it after a power cut wipes your configuration.
- Ignoring your router's device list. If
homeassistant.localdoesn't resolve, the IP address from your router is usually the fastest fix.
Conclusion
Once you install Home Assistant and get through the first boot, the rest tends to fall into place quickly. The hardest part is really just waiting for the initial setup to finish and knowing where to look if something doesn't load straight away. From here, you can start adding more devices, building automations, and expanding your setup at whatever pace suits you. If you're building this out as part of a wider home lab, it's worth connecting your network foundations properly too, starting with a solid router and stable Wi-Fi coverage throughout the house.
FAQ
Do I need a Raspberry Pi, or can I use any mini PC?
Either works. A Raspberry Pi is cheaper and smaller, while a mini PC handles more devices and add-ons with less strain. Choose based on how much you expect to expand your setup.
Why isn't homeassistant.local loading in my browser?
This usually means the device hasn't finished booting yet, or your network doesn't support local domain resolution. Wait a few extra minutes, then try the device's IP address from your router's connected devices list instead.
Can I install Home Assistant without Ethernet?
You can, but it's not recommended for the first setup. Wi-Fi configuration during onboarding can be fiddly, and a wired connection avoids most early connectivity issues entirely.
What's the difference between Home Assistant OS and Home Assistant Container?
Home Assistant OS is a full dedicated operating system with a built-in add-on store, ideal for beginners. Home Assistant Container runs inside Docker on a system you already manage, which suits people who already run other services on the same hardware.
How much storage do I actually need?
32GB is a safe minimum for most setups. If you plan to add lots of add-ons, cameras, or long history retention, 64GB or more gives you breathing room.
Will my smart devices automatically show up after installation?
Many common Wi-Fi devices get discovered automatically. Devices using Zigbee, Z-Wave or Thread usually need an extra USB dongle or hub before Home Assistant can see them.