Network 39

Fancy running your own corner of the internet from a spare room? If you've ever wondered whether you can host a website from a home server, the answer is yes, and it's more achievable than most people think. This guide walks you through hosting your own web server at home, from picking the right hardware to getting a working website live on your local network.

We'll keep this focused on the server side of things: hardware choices, operating system setup, installing web server software, and testing everything before you even think about opening it up to the wider internet. Expect to spend a couple of hours on the initial setup, plus some tinkering time if you're new to this. Difficulty is moderate, but nothing here requires a computer science degree.
What You'll Need
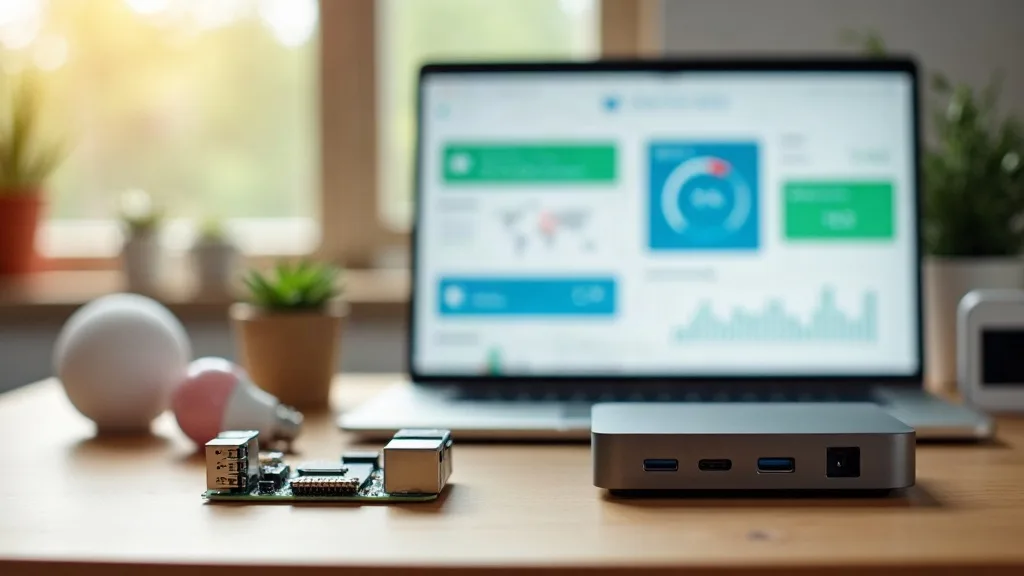
- A spare computer, mini PC, or Raspberry Pi (anything from the last decade will usually do)
- A power supply and network cable (Wi-Fi works, but wired is more reliable)
- A USB drive or SD card with at least 8GB of space, for installing the operating system
- Another computer to write the installer and access your server remotely
- A router with access to its admin settings
- Basic comfort with typing commands (we'll explain what each one does)
Step 1: Choose the Right Hardware
You don't need anything powerful to host a website from a home server. A simple blog or portfolio site barely uses any processing power at all.
- Raspberry Pi: Cheap, quiet, and low on power use. Great for small personal sites or testing things out.
- Mini PC: More power than a Pi, still small and energy efficient. Worth it if you plan to run several services alongside your web server. Our guide to best mini PCs for a home lab covers some solid options if you're buying new.
- Old laptop or desktop: Perfect if you already own one gathering dust. Just be aware older hardware tends to use more electricity.
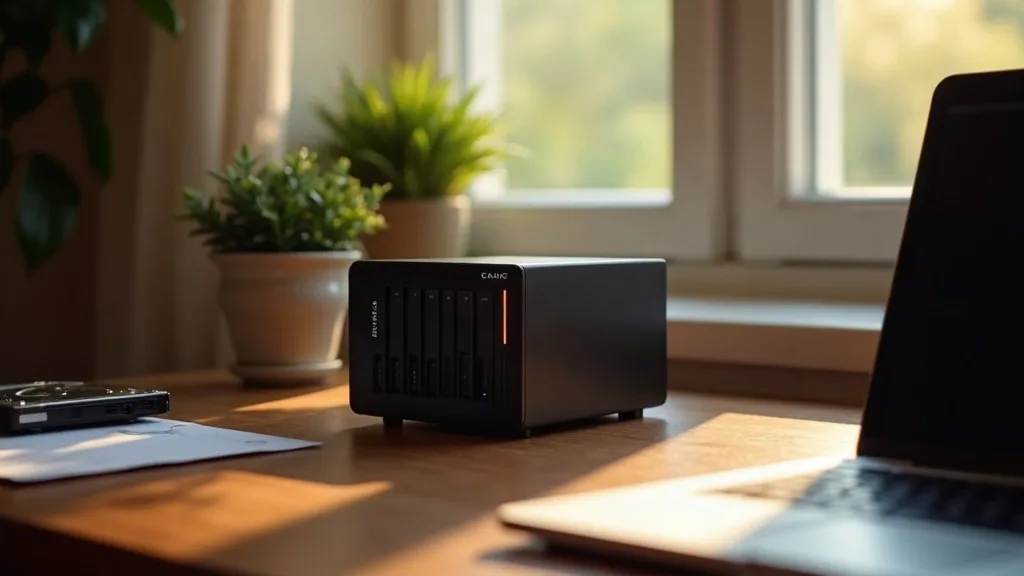
If you're also thinking about storage for backups, photos, or media alongside your website, it's worth glancing at options for a NAS for home use, since some NAS devices can run basic web server software too.
Whatever you choose, make sure it has a wired ethernet port. Wi-Fi can work, but a cable gives you a steadier connection, which matters more once your site is live.
Step 2: Install an Operating System
Most home web servers run Linux because it's free, lightweight, and well suited to this kind of job. Ubuntu Server and Debian are both beginner-friendly choices with lots of online support if something goes wrong.
- Download the operating system image from the official Ubuntu or Debian website.
- Use a tool like Raspberry Pi Imager or Rufus to write the image onto your USB drive or SD card.
- Plug the drive into your server hardware and boot from it, following the on-screen setup steps.
- During setup, create a username and password you'll remember. You'll need these every time you log in.
- Once installed, update everything with these commands in the terminal:
`` sudo apt update sudo apt upgrade ``
This fetches the latest security patches and software fixes before you go any further.
If you'd rather skip the command line entirely and just want a simple home server for smart home control rather than websites, our guide on installing Home Assistant on a mini PC or Raspberry Pi might be a better fit. But for a proper web server, sticking with a standard Linux install gives you more flexibility.
Step 3: Give Your Server a Fixed IP Address
Your home server needs a consistent address on your network, otherwise it might change every time it restarts, which breaks any links or settings pointing to it.
- Log into your router's admin panel (usually by typing something like 192.168.1.1 into a browser).
- Find the DHCP settings and look for an option to reserve an IP address for a specific device.
- Select your server by its name or MAC address and assign it a fixed IP, such as 192.168.1.50.
- Save the settings and restart your server to confirm the address sticks.
If you're not sure which devices are connected to your network or want to double check your server's details, this guide on seeing who is connected to your Wi-Fi can help you find it.
Step 4: Install Web Server Software
This is the part that actually turns your machine into a web server. The two most common choices are Apache and Nginx. Both are free, reliable, and widely documented. Nginx tends to be a little lighter on resources, which suits smaller hardware like a Raspberry Pi.
To install Nginx on Ubuntu or Debian, run:
`` sudo apt install nginx ``
Once it finishes, check that it's running:
`` sudo systemctl status nginx ``
You should see a message confirming it's active. If you'd rather use Apache instead, swap the package name:
`` sudo apt install apache2 ``
Either option gives you a basic working web server within a couple of minutes. There's no need to overthink which one to pick when you're starting out; you can always switch later once you know what you need.
Step 5: Test It on Your Local Network
Before anything goes near the internet, confirm it works at home first. This step catches most problems early, while they're still easy to fix.
- On another device connected to the same network, open a web browser.
- Type in your server's fixed IP address (for example, 192.168.1.50).
- You should see a default welcome page from Nginx or Apache confirming the installation worked.
If nothing loads, check that your server's firewall allows web traffic:
`` sudo ufw allow 'Nginx Full' ``
Or for Apache:
`` sudo ufw allow 'Apache Full' ``
Try loading the page again. This usually solves the problem if the software itself installed correctly but traffic wasn't getting through.
Step 6: Add Your Website Files
Now it's time to replace that default welcome page with your own content.
- Navigate to the web server's main folder, usually found at
/var/www/htmlfor both Nginx and Apache. - Back up the existing default file just in case:
`` sudo mv /var/www/html/index.html /var/www/html/index.html.backup ``
- Create your own basic HTML file to test things:
`` sudo nano /var/www/html/index.html ``
- Add some simple content, like a heading and a short paragraph, then save and close the file.
- Refresh the page on your other device. You should now see your own content instead of the default page.
From here, you can build out a proper website using whatever tools suit you, whether that's hand-coded HTML, a static site generator, or a content management system like WordPress. Each of those has its own setup process, but the server itself is now ready to host them.
Step 7: Decide Whether to Go Further
At this point you've successfully proven you can host a website from a home server, at least on your own network. Going further, meaning making the site visible on the public internet, involves extra steps like port forwarding, dynamic DNS, and proper security hardening. These come with real risks if done carelessly, since you're opening a door from the internet into your home network.
If you're keen to explore self-hosting more broadly before taking that leap, our beginner's guide to self-hosting at home covers the bigger picture, including what else you might want to run alongside a web server. And if this is your first home server project of any kind, Home Lab for Beginners: Where to Start is worth reading too.
Many people choose to keep their web server internal, using it for family photo galleries, personal notes, or practice projects, without ever exposing it to the internet. That's a perfectly reasonable place to stop.
Common Mistakes to Avoid
- Skipping the fixed IP address step. Without it, your server's address can change, breaking bookmarks and links without warning.
- Forgetting to update software regularly. Security patches matter even more once a server is exposed to any kind of network traffic.
- Using weak passwords for the server login. This matters far more if you later open things up beyond your home network.
- Not testing locally first. Rushing straight to public access makes it harder to tell whether a problem is your setup or your network.
- Ignoring firewall settings. A misconfigured firewall is one of the most common reasons a freshly installed server won't show anything in a browser.
- Running everything as the root user. Create a separate user account for daily tasks to reduce the risk of accidental damage.
Conclusion
Hosting your own web server at home is one of those home lab projects that feels far more complicated before you start than it actually is. Once you've picked suitable hardware, installed Linux, and set up Nginx or Apache, you've got a genuinely working web server sitting on your own network. Testing it locally first, as we've done here, gives you a safe space to learn and experiment without any pressure from outside traffic. Whether you stop here or go on to make your site public later, you've built something real, and that's a solid foundation for whatever home lab project comes next.
FAQ
Can you host a website from a home server?
Yes. A home server running Linux with Nginx or Apache installed can host a website just as well as commercial hosting for small to moderate traffic. The main limitations are your internet connection's upload speed and your home router's capabilities if you plan to make it public.
Can I host a website from my home server using a Raspberry Pi?
Absolutely. A Raspberry Pi has more than enough power for a small personal website, blog, or portfolio. It's one of the cheapest and most energy efficient ways to get started.
Do I need a static IP address from my internet provider?
Not for testing on your local network. You only need that if you plan to make your website accessible from outside your home, and even then, dynamic DNS services can work around a changing public IP in many cases.
What's the difference between Apache and Nginx?
Both are reliable, free web server programs. Apache has been around longer and has huge community support, while Nginx tends to use fewer resources and handles high traffic slightly more efficiently. For a small home project, either works fine.
Is it safe to host a website from home?
It's safe as long as you keep software updated, use strong passwords, and understand the risks before opening anything to the public internet. Testing locally first, as covered in this guide, is the safest way to learn without exposure.
What else can I run on the same home server?
Plenty. Once you're comfortable with the basics, many people add file sharing, ad blocking with tools like Pi-hole, or smart home hubs for Zigbee, Thread and Matter devices alongside their web server.