Network 39

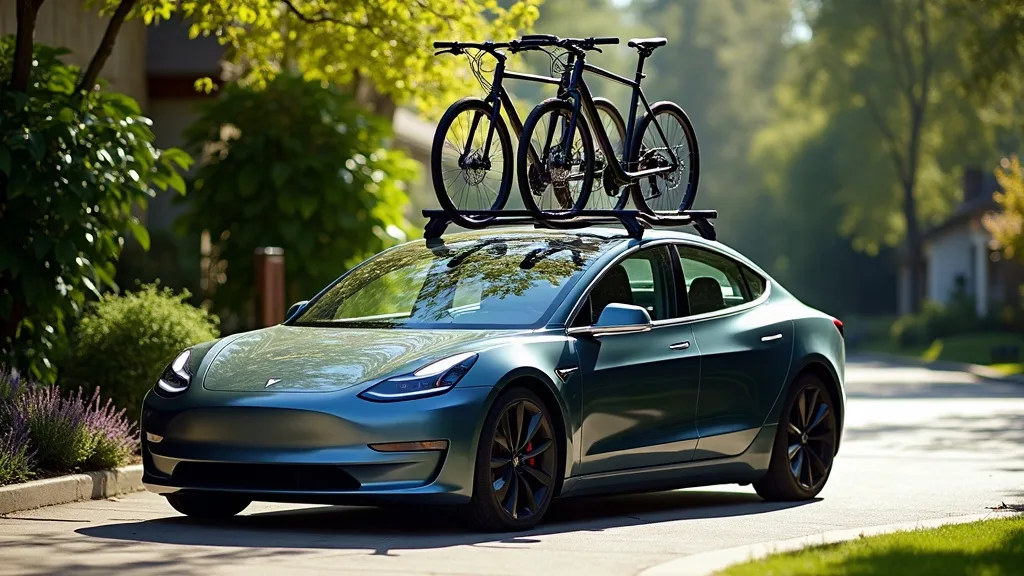
Heading to the coast with a kayak or surfboard strapped to your Model Y sounds simple until you're stood in the driveway wondering what actually goes where. The good news is that a Model Y roof rack for kayak or board duty is a straightforward setup once you understand the parts involved. This guide walks you through fitting the right rack, strapping your gear down properly, and keeping that glass roof scratch-free on the way to Lahinch, Strandhill, or wherever the waves are calling. Budget about 30 to 45 minutes for your first load, and expect it to take half that once you've done it a couple of times.
What You'll Need
- A roof rack system compatible with the Model Y (Tesla's own rack or a third-party crossbar set)
- Kayak cradles or saddles, or a set of soft roof pads for boards
- At least two cam buckle straps (2.5 to 5 metres long)
- Bow and stern lines (ratchet straps are too harsh for this job)
- A foam block or old towel for roof protection
- A torque wrench or the rack manufacturer's hex key, if fitting crossbars for the first time
Step 1: Check Your Roof Rack Fit
Before anything touches the roof, confirm you have the correct rack for your specific Model Y. Tesla changed the roof rail design between early and later production years, so not every rack listed online will clamp on properly.
- Check whether your Model Y has the factory glass roof with the narrow mounting points or the panoramic version with wider channels.
- If you're repurposing a rack from another Tesla, read Does a Model 3 Roof Rack Fit the Model Y? before you assume it'll work, because the mounting points aren't identical.
- If you're buying new, compare the crossbar length and clamp style against your car's listed specs. Model Y Roof Rack Dimensions and Specs has the measurements you'll need to cross-check against any third-party rack you're considering.
Getting this step right saves you from a rack that rattles at motorway speed or, worse, one that doesn't clamp securely at all.
Step 2: Fit the Crossbars Correctly
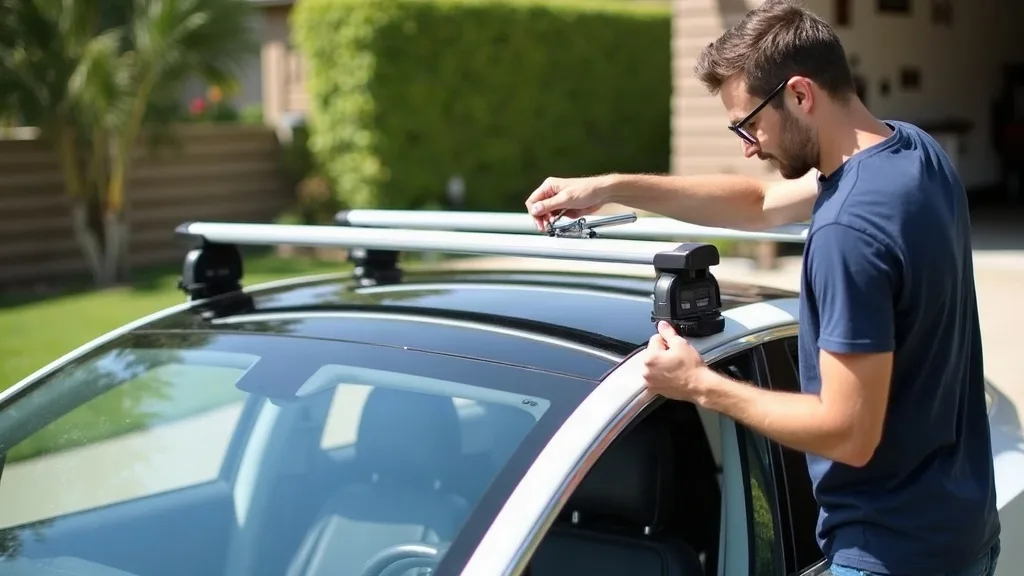
Once you've got the right rack, fitting it takes a bit of care but no special skills.
- Open the car doors to access the roof rail channels more easily, and locate the fixing points, usually marked under small covers along the roof edge.
- Position the crossbars evenly, generally with wider spacing giving better support for longer loads like kayaks and surfboards.
- Tighten the clamps by hand first, then finish with a hex key or torque wrench to the manufacturer's recommended setting. Overtightening can mark the roof trim, so don't go beyond what's specified.
- Give both bars a firm shake test before loading anything. They shouldn't shift side to side or lift at the edges.
If this is your first time fitting a roof rack to a new car, it's worth skimming What Comes With a New Tesla Model Y? too, just to confirm whether your car came with any mounting hardware already in the roof rails that you can reuse.
Step 3: Add Cradles for a Kayak
A bare crossbar works for a board, but a kayak needs proper support to avoid hull damage and keep it from sliding about.
- Fit J-cradles or saddle-style cradles to the crossbars, spacing them to match your kayak's length, typically around 70 to 90 centimetres apart for most sit-on-top and touring kayaks.
- Tighten the cradle clamps onto the crossbars, checking they don't slide when you push against them.
- Lift the kayak into the cradles with the hull facing down (or on its side for J-cradles), keeping the weight centred between the front and rear crossbars.
- If you're carrying two kayaks, stack-style cradles let you angle boats side by side, but check your rack's maximum weight rating first, since this is one area where people often guess rather than check.
Foam block cradles are a cheaper option and work fine for occasional trips, but they offer less lateral stability than proper J-cradles if you're driving any distance or expect crosswinds along coastal roads.
Step 4: Strap the Kayak Down Properly
This is the step people rush, and it's the one that actually keeps your kayak attached to the car.
- Run a cam buckle strap over the hull, just forward of the cockpit, and another just behind it, looping each strap through or around the crossbar.
- Tighten until the kayak sits firmly in the cradles but isn't so tight that the hull deforms. You want firm contact, not a squeeze.
- Tuck away the loose strap ends or twist them to stop flapping noise at speed, and avoid letting excess strap length dangle near the wheels.
- Attach bow and stern lines to solid anchor points, such as the tow hooks or a reinforced point under the bumper. Avoid the number plate or anything plastic that could crack under tension.
- Give the whole setup a hard shake test from the front and side. There should be minimal movement.
Bow and stern lines aren't just extra security, they stop the kayak twisting under wind load on faster roads, which cam straps alone don't fully prevent.
Step 5: Load a Surfboard Safely
A Model Y roof rack surfboard setup is a bit simpler than a kayak since you're dealing with less weight and a flatter shape, but the padding and strap placement still matter.
- Fit soft roof pads over the crossbars if you don't have dedicated board racks. These wrap around the bar and give the board's deck and rails something forgiving to rest against.
- Place the board deck-down (fins facing up) to protect the more fragile deck surface, unless your pads are specifically designed otherwise.
- Run two straps over the board, one near the nose area and one near the tail, looping under the crossbars and through the strap buckle.
- Tighten evenly on both sides so the board doesn't twist, then test for movement by pressing down and side to side.
- For boards longer than about 2.4 metres, add a nose tie-down to the front tow point to stop lift at speed, especially useful on exposed coastal routes where crosswinds pick up.
Step 6: Protect the Glass Roof
The Model Y's glass roof is more exposed to scuffs than a traditional painted metal roof, so a bit of extra care goes a long way here.
- Place a folded towel or foam strip under any strap section that crosses the glass directly, particularly where buckles or metal fittings might rest against the surface.
- Avoid dragging the kayak or board across the roof when loading. Lift it onto the cradles rather than sliding it, since grit caught underneath can scratch the glass surface in seconds.
- Check your crossbar clamps periodically for any plastic feet that have worn thin, as exposed metal edges are the most common cause of glass scuffing over time.
- Clean the roof before long trips, since sand and salt residue from a previous outing to the coast is often what causes scratching on the next one.
A quick wipe-down before you load up takes two minutes and prevents most of the marks people blame on racks that were actually caused by grit left over from the last trip.
Step 7: Double-Check Before You Drive
Before pulling out of the driveway, run through a final check.
- Inspect every strap and cradle clamp by hand, pressing firmly to confirm nothing has loosened during loading.
- Check that no straps or loose ends are anywhere near the boot opening, as this can interfere with the hatch or trigger a sensor warning.
- If your Model Y has the hidden tow hitch and you're also towing a trailer, see How to Open and Use the Hidden Model Y Tow Hitch so you're not fumbling with that on top of a loaded roof.
- Drive a short distance, pull over, and recheck tension. Straps often settle slightly once the load shifts with the first bit of motion.
Common Mistakes to Avoid
- Using ratchet straps instead of cam buckle straps on a kayak hull, which can crush or crack the plastic under excess tension.
- Skipping bow and stern lines because the cradle straps "feel tight enough," only to find the kayak shifting on a motorway at speed.
- Loading a board or kayak without checking for grit on the roof first, leading to avoidable scratches on the glass.
- Overtightening crossbar clamps beyond the manufacturer's torque guidance, which can mark or stress the roof trim.
- Forgetting to recheck strap tension after the first few kilometres, when straps commonly loosen slightly as the load beds in.
- Mixing rack parts from different brands or models without confirming compatibility first.
Conclusion
A solid Model Y roof rack for kayak or surfboard trips comes down to three things: the right rack for your roof, proper cradles or pads, and straps that are tight but not punishing. Add a bit of glass protection and a final shake test, and you're set for anything from a quick paddle at the local lake to a longer run down to the Irish coast. Once you've done the setup once, loading up for the next trip takes a fraction of the time.
FAQ
Does the Tesla Model Y need a special roof rack for a kayak?
Not a special one exactly, but it does need a rack compatible with the Model Y's roof rail design, since clamp styles vary between car models and even between production years.
Can I use foam blocks instead of J-cradles for a kayak?
Yes, foam blocks work for shorter trips at moderate speeds, but J-cradles or saddle cradles offer more stability for longer drives or windy coastal roads.
How do I stop my surfboard from scratching the Model Y's glass roof?
Use padded roof pads or soft racks rather than bare crossbars, and always clean the roof of sand and grit before loading, since residue is the main cause of scratches.
Is it safe to tow a trailer and carry a kayak at the same time?
It can be, as long as your total load stays within both the roof rack's weight limit and the vehicle's towing capacity. Checking the hitch setup beforehand also helps avoid last-minute hassle.
How tight should kayak straps be?
Tight enough that the kayak doesn't shift when you push against it firmly, but not so tight that the hull visibly deforms or the cradles creak under pressure.
Will a roof rack affect the Model Y's range?
Yes, slightly. The added wind resistance from a rack and cargo typically reduces range a bit, more noticeably at higher motorway speeds than around town.