Network 39
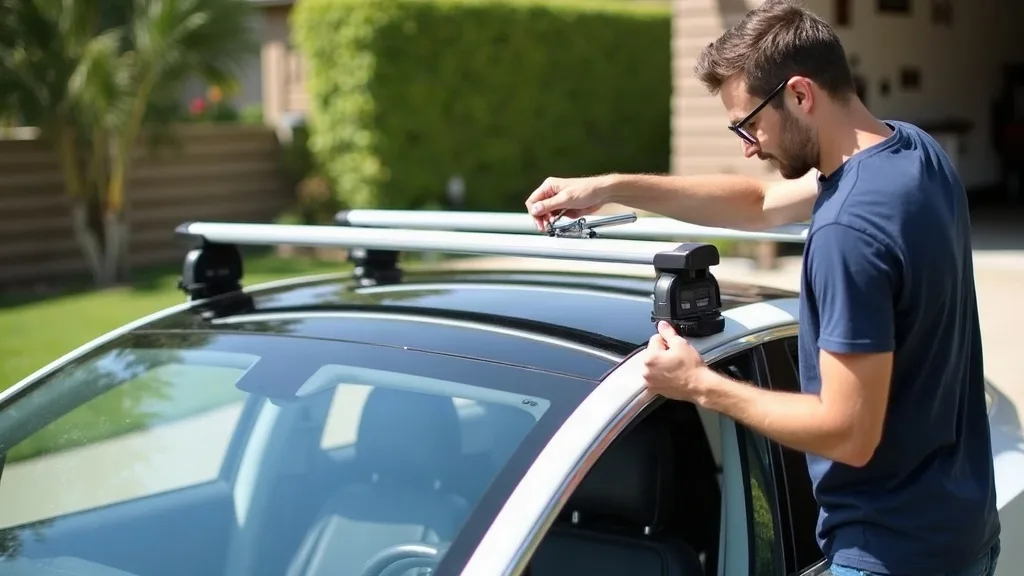
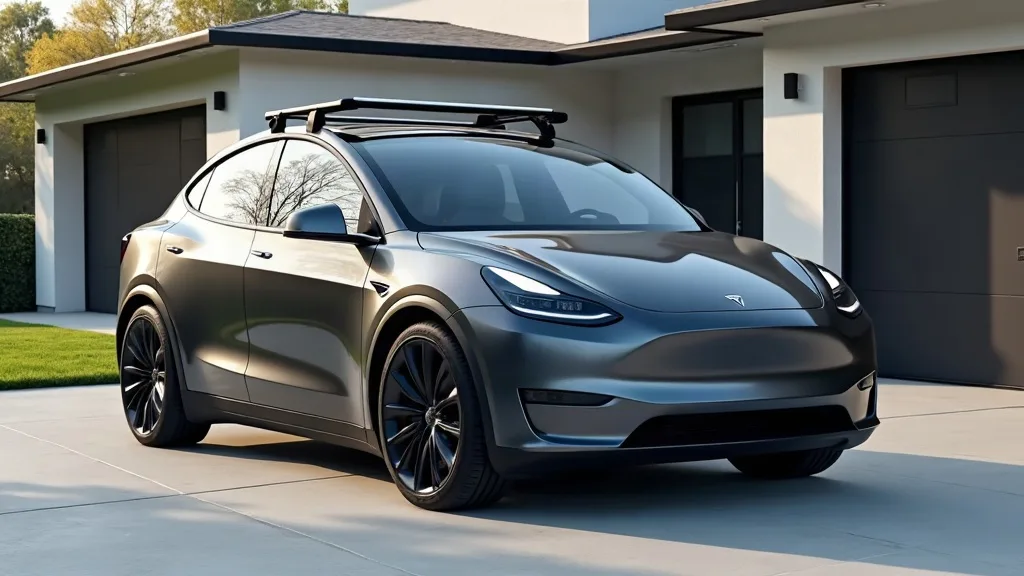
Fitting a roof rack to a Model Y sounds daunting if you have never done it before, but a Model Y roof rack installation is genuinely one of the easier home car jobs out there. Tesla designed the mounting points into the roof, so there is no drilling, no clips to force into trim, and no guesswork about where things go. Set aside about 20 to 30 minutes, and expect an easy difficulty level even if this is your first time fitting any kind of roof rack.
By the end of this guide, you will have both crossbars seated correctly, torqued to the right spec, and locked in place without a single scratch on that glass roof. We will also point you to the official manual, flag the mistakes that cause the most damage, and link out to a few other guides if you want to go deeper on things like bike racks or wind noise.
What You'll Need
- Genuine Tesla roof rack kit (or a compatible aftermarket set)
- Torque wrench or the hex key supplied with your kit
- Soft microfibre cloth
- Masking tape (optional, for protecting the glass while you work)
- A clean, flat surface to lay out the parts
- Your Tesla account or the printed manual that came with the rack
- A second pair of hands (helpful but not essential)
Step 1: Find and Read the Official Manual First
Before touching anything, track down the official Model Y roof rack installation manual. If you bought a genuine Tesla rack, the instructions usually come as a card inside the box, but Tesla also hosts a digital version.
- Open your Tesla app or the Tesla website and search their support section for "roof rack manual."
- If you bought an aftermarket rack, check the manufacturer's website instead, since torque specs and mounting points can differ slightly.
- Skim the whole manual once before you start so you know what the finished setup should look like.
This five-minute step saves a lot of confusion later, especially around torque values, which we will cover again in a moment.
Step 2: Clean the Roof and Mounting Points
A dusty roof is where most glass scratches start, so do not skip this.
- Wash the roof area around the four mounting points with a hose or bucket of soapy water.
- Dry it completely with a soft microfibre cloth, checking for any grit stuck near the seams.
- Run your fingers lightly along the mounting channels to feel for debris you cannot see.
If you are at all worried about marking the glass, it is worth reading up on protecting Model Y roof glass from a roof rack before you go any further.
Step 3: Locate the Mounting Points
The Model Y has two factory mounting points built into the roof, one towards the front and one towards the rear, each with a small cover you need to remove.
- Find the two trim covers running along the edges of the roof panel.
- Gently pry them up using your fingers or the plastic tool included in the kit, never a metal screwdriver.
- Set the covers aside somewhere safe, since you will likely refit them if you ever remove the rack.
Take your time here. The covers are not fragile, but forcing them with the wrong tool is how people end up with hairline scratches.
Step 4: Position the Front Crossbar
With the mounting points exposed, you can start placing the first crossbar.
- Lift the front crossbar onto the roof, lining up its feet with the forward mounting points.
- Check the arrow or "front" label printed on the crossbar itself, since most kits are directional.
- Lower it slowly rather than dropping it, so the feet settle into the channel without sliding.
If you have a second person helping, this is the moment to use them. One holds the bar steady while the other checks alignment from the side.
Step 5: Secure the Front Crossbar
Now you lock that first bar into place.
- Insert the hex key or torque wrench into the fitting on each foot.
- Turn clockwise until you feel resistance, then continue to the torque figure listed in your manual (this varies by rack, so do not guess).
- Check both feet are tightened evenly, not just one side.
- Give the bar a firm wiggle test. It should not shift at all.
Overtightening is a real risk here, so stick to the number in the manual rather than cranking it as hard as you can.
Step 6: Position and Secure the Rear Crossbar
Repeat the same process for the second bar.
- Lift the rear crossbar onto the roof and align it with the rear mounting points.
- Confirm spacing between the two bars matches what is shown in your manual, since this affects how evenly weight gets distributed later.
- Tighten both feet to the same torque spec as the front bar.
- Wiggle test again to confirm it is locked solid.
Step 7: Lock the Rack and Test Fit
Most genuine Tesla racks and many aftermarket ones include a locking mechanism, usually a small key-operated lock on each foot.
- Turn the key (if your kit has one) to engage the lock.
- Note where you store that key, since losing it is more common than people expect. Our guide on Model Y roof rack keys and replacement parts covers what to do if that happens.
- Push down firmly on both bars one more time to confirm nothing moves.
- Drive at low speed around your street or driveway to listen for rattling before heading onto a motorway.
Step 8: Refit Covers and Do a Final Check
- If your kit includes small trim pieces for unused mounting points, snap them back into place.
- Wipe down the whole roof again to remove fingerprints or smudges.
- Take a photo of the finished setup so you have a reference if you ever need to remove or reinstall it.
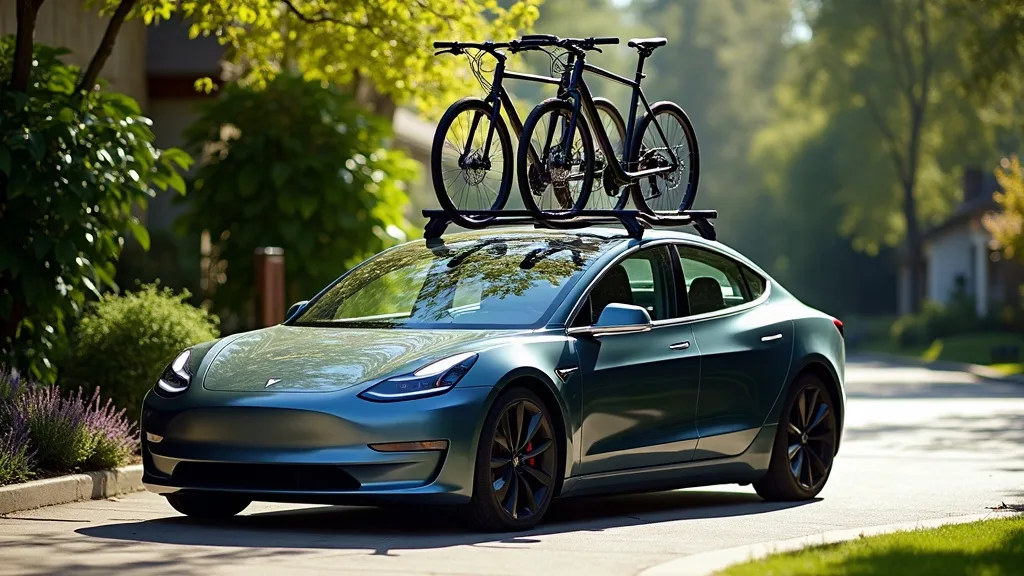
If you are planning to carry bikes rather than just a roof box, it is worth reading carrying bikes on a Model Y roof rack before you load anything up, since bike mounts often need extra spacing or specific crossbar positions.
Common Mistakes to Avoid
- Using a metal tool on the trim covers. This is the single biggest cause of scratches during installation. Stick to plastic trim tools or your fingers.
- Skipping the torque spec. Both undertightening and overtightening cause problems, from a rack that shifts at speed to stripped fittings that are expensive to fix.
- Ignoring crossbar direction. Fitting a bar backwards can throw off weight distribution and sometimes voids the fit entirely.
- Rushing the cleaning step. Grit trapped under the mounting feet is a common cause of light scratching that only shows up weeks later.
- Not checking aftermarket compatibility. Not every rack on the market fits the Model Y the same way Tesla's own does. Our comparison of Tesla roof racks versus aftermarket racks for the Model Y is worth a read if you have not bought your kit yet.
- Forgetting about the car wash. Automatic car washes and roof racks do not always mix well. Check whether you can take a Model Y with a roof rack through a car wash before your next trip to avoid an awkward surprise.
Conclusion
A careful Model Y roof rack installation really does come down to three things: cleaning the roof properly, following the torque spec in the manual, and handling the trim covers gently. Get those right and the rest of the job is mostly lining things up and tightening a few fittings. If you ever need to take the rack back off, whether for a car wash, a service appointment, or just storage over winter, our guide on how to remove a Model Y roof rack without damage walks through that process the same way this one covers fitting it.
FAQ
Where can I find the official Model Y roof rack manual?
Check the Tesla app or website support section, or look inside the box your rack shipped in. Genuine Tesla racks usually include a printed card, and a digital copy is also available through Tesla's support pages. Aftermarket brands publish their own manuals separately, so check the manufacturer's site if that applies to you.
Do I need any special tools to fit a Model Y roof rack?
Most kits include the hex key or tool you need, so you will not have to buy anything extra. A torque wrench is nice to have for precision, but the supplied tool will get you a secure fit if you follow the manual's guidance carefully.
How long does it take to install a roof rack on a Model Y?
Most people finish in 20 to 30 minutes, including the cleaning step. It can take longer the first time while you get familiar with the mounting points, but it is not a job that needs a full afternoon.
Will a roof rack scratch my Model Y's glass roof?
It shouldn't, as long as you clean the roof thoroughly before fitting and avoid metal tools on the trim covers. Most scratches happen from grit trapped under the mounting feet or from forcing covers off with the wrong tool.
Can I fit an aftermarket roof rack the same way as a genuine Tesla one?
The general process is similar, but torque specs, mounting points and crossbar spacing can vary between brands. Always follow the specific manual that came with your rack rather than assuming every kit installs identically.
What should I do if I lose the lock key for my roof rack?
Contact the manufacturer for a replacement key or lock cylinder rather than trying to force the rack off. Our guide on roof rack keys and replacement parts has more detail on sourcing a replacement without damaging the rack itself.