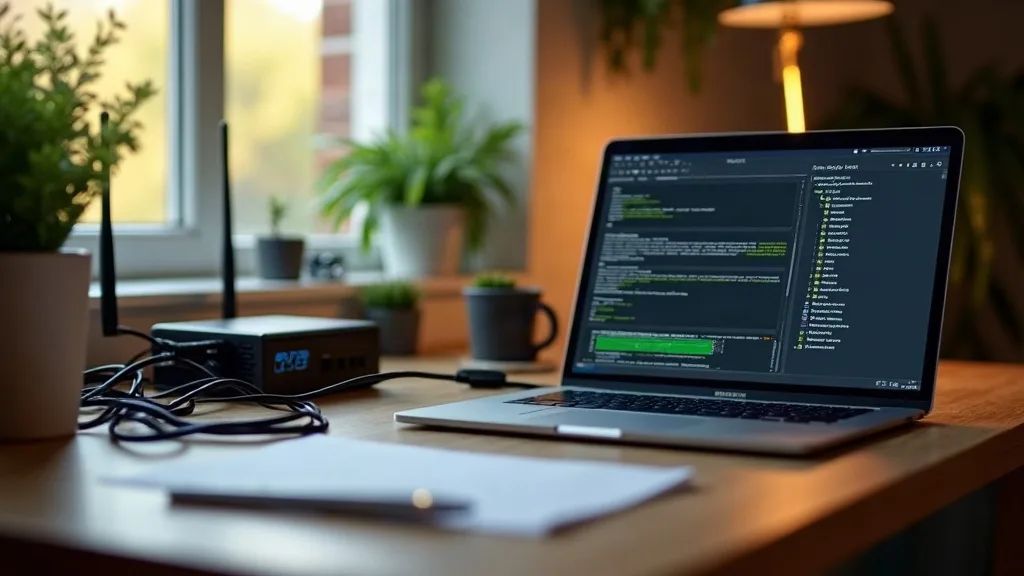
Fancy running your own website from a spare laptop in the corner of your living room? It's more achievable than most people think, and you don't need to be a network engineer to get it working. This guide walks you through how to host a website from home, from picking the right hardware to getting a proper HTTPS certificate so visitors see that reassuring padlock.
Expect to spend a weekend on this the first time round, longer if you want to polish things up. The difficulty is moderate: nothing here requires deep technical knowledge, but you will be typing commands into a terminal and changing settings on your router. If you haven't set up any self-hosted services before, it's worth reading our Self-Hosting at Home: A Beginner's Guide first, since it covers the broader concepts this article builds on.
What You'll Need
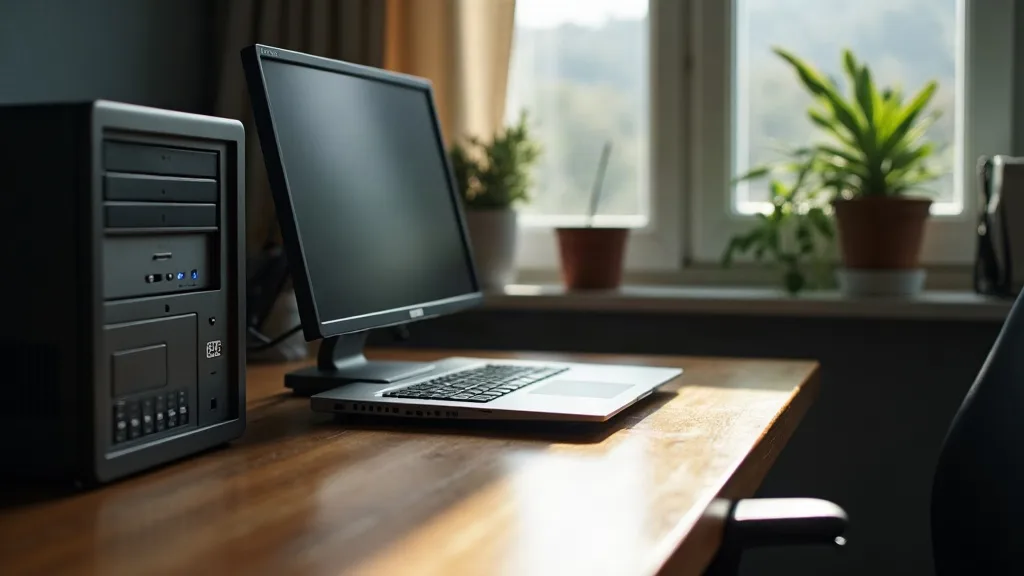
- An old laptop, desktop, or a small device like a Raspberry Pi (4GB RAM or more is plenty for most personal sites)
- A stable internet connection with reasonable upload speed
- Access to your router's admin settings
- A domain name (optional but recommended, usually £5 to £15 a year)
- Basic familiarity with using a terminal or command line
- Patience for the first hour or two while things click into place
Step 1: Choose Your Hardware
You don't need anything fancy. A low-power device that can stay on 24 hours a day is far more important than raw speed.
- Raspberry Pi: cheap to run, quiet, and more than capable of serving a simple website or blog.
- Old laptop or desktop: works well if you already have one gathering dust. Just keep an eye on electricity use, since older machines tend to draw more power than you'd expect.
- Mini PC: a good middle ground if you're buying new, offering more power than a Pi without the running costs of a full desktop.
Whatever you choose, make sure it can stay connected to your router via an Ethernet cable rather than Wi-Fi. Wired connections are more reliable and won't drop out when someone starts a video call upstairs.
Step 2: Install an Operating System and Server Software
Most home-hosted websites run on Linux, because it's free, lightweight, and well-suited to running quietly in the background.
- Install a Linux distribution such as Ubuntu Server or Raspberry Pi OS Lite. Both have straightforward installers with on-screen instructions.
- Update the system once it's running: ``
sudo apt update && sudo apt upgrade`` - Install web server software. The two most common choices are:
- Apache: well documented, works for almost anything, slightly heavier on resources.
- Nginx: lighter and faster for simple static sites, a touch more involved to configure.
- Install your chosen server, for example: ``
sudo apt install nginx`` - Check it's working by typing your device's local IP address into a browser on the same network. You should see a default welcome page.
If you're hosting a blog or something with more moving parts, you might also need a database (like MySQL or MariaDB) and a scripting language such as PHP. Simple static sites don't need either.
Step 3: Get Your Website Files in Place
Once the server software is running, it needs something to actually show visitors.
- Find the default web root folder. On Nginx this is usually
/var/www/html, on Apache it's often the same or similar. - Replace the default placeholder page with your own files. A basic site just needs an
index.htmlfile and any images or stylesheets it references. - Set correct permissions so the web server can read the files: ``
sudo chown -R www-data:www-data /var/www/html`` - Refresh the browser on your local network to confirm your own content now appears.
At this stage your website exists, but only on your own network. The next steps make it visible to the wider internet.
Step 4: Give Your Server a Fixed Local IP Address
Home routers usually hand out IP addresses dynamically, which is a problem if your server's address changes overnight. You want it fixed, so your port forwarding rule (coming up next) always points to the right device.
- Log in to your router's admin page, usually by typing its IP address into a browser.
- Find the DHCP settings, often under a section called LAN or Network.
- Set up a DHCP reservation for your server's MAC address, tying it permanently to one IP address.
- Restart the server and confirm it keeps the same address.
If terms like DHCP and IP address feel unfamiliar, our guide to home networking and how IP addresses, DNS and DHCP work together explains the basics in plain English.
Step 5: Set Up Port Forwarding
This is the step that actually opens your website up to visitors outside your home network. Your router needs to know that incoming web traffic should be sent to your server, not just dropped at the front door.
- In your router's settings, find the port forwarding section (sometimes called Virtual Server or NAT forwarding).
- Create a rule that forwards port 80 (standard web traffic) to your server's fixed local IP address.
- Do the same for port 443, which handles secure HTTPS traffic.
- Save the settings and restart the router if prompted.
Be aware that opening ports does increase your exposure to the internet, so it's worth tightening up other areas of your network at the same time. Our home network security checklist is a useful companion piece here, and it's also worth reviewing which router settings are safe to change before you start poking around.
Step 6: Find Your Public IP Address and Test Access
Your home internet connection has a public IP address, separate from the local ones your devices use.
- Search "what is my IP" in any browser to find your current public IP address.
- From a device on a different network (a phone on mobile data works well), type that IP address into a browser.
- You should see your website appear, just as it did on your local network.
If nothing loads, double check the port forwarding rule and make sure your device's firewall isn't blocking incoming connections on ports 80 and 443.
Step 7: Set Up a Domain Name
Most UK internet providers change your public IP address periodically, so relying on it directly is a recipe for a website that mysteriously vanishes. A domain name paired with dynamic DNS to handle your changing IP solves this.
- Register a domain through any domain registrar. Prices vary, but a basic domain is usually inexpensive.
- Sign up for a dynamic DNS service if your IP changes regularly, many routers have built-in support for popular providers.
- Point your domain's DNS records to your current public IP address, or to the dynamic DNS hostname.
- Wait for DNS changes to propagate, which can take anywhere from a few minutes to a few hours.
- Test by typing your domain name into a browser from outside your home network.
This is also where it helps to understand how DNS actually resolves a domain to an address, which ties back to the same DNS and DHCP explainer mentioned earlier.
Step 8: Add HTTPS With a Free Certificate
Browsers increasingly flag any site without HTTPS as "not secure", which is off-putting to visitors and bad for search visibility.
- Install Certbot, a free tool that automates getting certificates from Let's Encrypt: ``
sudo apt install certbot python3-certbot-nginx`(swapnginxforapache` if that's what you're running) - Run Certbot and follow the prompts, providing your domain name when asked: ``
sudo certbot --nginx`` - Certbot will automatically configure your server to use HTTPS and set up a certificate that renews itself every few months.
- Visit your domain with
https://in front to confirm the padlock appears.
Without a domain name, getting a proper HTTPS certificate is difficult, so it's worth completing Step 7 first if security matters to you (and it should).
Step 9: Keep an Eye on Reliability and Performance
A home-hosted website depends on your home internet connection and electricity supply, both of which are less reliable than a data centre.
- Check your internet provider's terms to make sure home hosting isn't against their acceptable use policy; most residential plans are fine for small personal sites, but some business-grade services suit heavier traffic better.
- Consider a UPS (uninterruptible power supply) if frequent power cuts are a problem in your area.
- Set up basic monitoring, even something as simple as a phone app that pings your site every hour, so you know quickly if it goes down.
- If your website struggles to load alongside everything else on your network, our guide to diagnosing home network problems can help track down the cause.
Common Mistakes to Avoid
- Skipping the fixed IP step: if your server's local address changes, your port forwarding rule stops working and the site disappears without warning.
- Forgetting to renew HTTPS certificates manually: Certbot handles renewal automatically in most setups, but it's worth checking occasionally that the automatic renewal is actually running.
- Leaving default passwords on the router or server: an open port combined with weak credentials is an easy target.
- Ignoring upload speed: most home broadband is asymmetric, meaning uploads are much slower than downloads, which can make a busy site feel sluggish to visitors.
- Hosting sensitive or high-traffic sites at home: a personal blog or portfolio is ideal for home hosting; anything handling payments or heavy traffic is better suited to proper hosting providers.
Conclusion
Learning how to host a website from home is a genuinely satisfying project, and it gives you full control over your data without monthly hosting fees. The core steps are always the same: get a server running, point your router at it, attach a domain name, and lock it down with HTTPS. From there, it's mostly a matter of keeping things updated and watching for the occasional hiccup. Once it's running smoothly, you'll have a website that's entirely yours, built and maintained on hardware sitting a few metres away from where you're reading this.
FAQ
Is it legal to host a website from home?
Yes, in the UK there's nothing illegal about hosting your own website from home. The main thing to check is your internet provider's acceptable use policy, since some residential plans discourage running servers, though enforcement for small personal sites is rare.
Do I need a static IP address from my internet provider?
Not necessarily. A dynamic DNS service works around a changing public IP address without paying for a static IP, which some providers charge extra for. It's a cheaper and perfectly reliable alternative for most home setups.
Will hosting a website slow down my home Wi-Fi?
A small personal site with modest traffic has little impact on everyday browsing. If you're worried about contention, connect your server via Ethernet rather than Wi-Fi, and keep an eye on how your router handles multiple devices, which our guide to router settings covers in more detail.
Can I host more than one website on the same home server?
Yes, this is common practice and both Apache and Nginx support running multiple sites on one server using something called virtual hosts (or server blocks in Nginx). Each domain just needs its own configuration file pointing to its own folder.
What happens if my power or internet goes out?
Your website becomes unreachable until the connection or power returns, which is the main trade-off of hosting at home instead of using a data centre. A UPS can smooth over short power cuts, but longer outages are simply part of the deal with self-hosting.