Network 39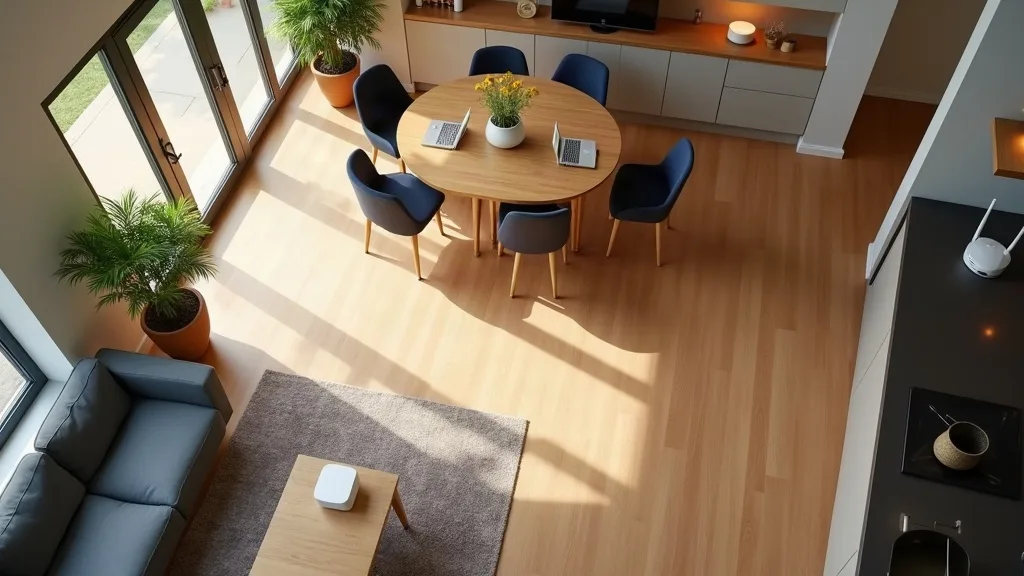
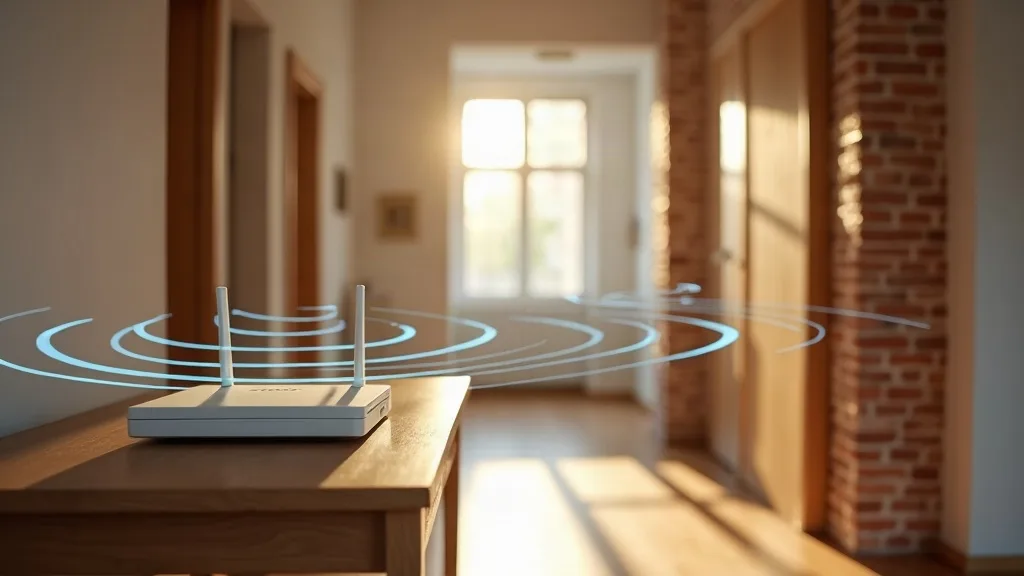
If your Wi-Fi drops the moment you walk upstairs or into the kitchen, mesh Wi-Fi systems are usually the fix. A proper mesh wifi system setup spreads coverage across two, three or more units that all talk to each other, so your phone hands off between them without you noticing. This guide walks through connecting everything to your broadband hub, deciding where to place each unit, whether you need to wire them together, and what to try when a unit misbehaves. Expect to spend 30 to 60 minutes on the initial setup, plus a bit of trial and error on placement over the following day or two.
What You'll Need
- A mesh Wi-Fi kit (two or more units, from the same system)
- Your existing router or ISP hub, still connected to the internet
- An Ethernet cable (usually supplied with the kit)
- A smartphone or tablet with the manufacturer's app installed
- Your Wi-Fi login details for the ISP hub, if you're keeping it in modem mode
- Mains sockets near each spot you're considering for a unit
If you haven't picked a system yet, it's worth reading Best Mesh Wi-Fi Systems for UK Homes before you buy, since not all kits suit every house size or budget.
Step 1: Decide How the Mesh Will Connect to Your Hub
Most UK broadband hubs (the box from Sky, Virgin Media, BT, Vodafone and so on) combine a modem and a router in one unit. You have two main options for fitting mesh into this setup.
- Keep the hub doing everything and add mesh behind it. The mesh system connects to the hub via Ethernet and creates its own Wi-Fi network. You'll usually want to turn off the hub's Wi-Fi to avoid two networks competing with each other.
- Put the hub into modem-only mode and let the mesh handle all the routing. This is the tidier option and tends to give better performance, since you're not double-handling the connection through two devices.
If you're not sure which your hub supports, check the manufacturer's app or website, or have a look at Is Your ISP Router Good Enough? When to Upgrade for more on what your hub can and can't do. Virgin Media hubs usually have a dedicated modem mode. BT and Sky hubs vary by model, so it's worth checking first rather than guessing.
Step 2: Connect the Main Mesh Unit
The first mesh unit (often called the "main" or "router" unit) needs to sit close to your hub, at least to begin with.
- Plug an Ethernet cable from your hub's yellow or LAN port into the mesh unit's WAN or internet port.
- Plug the mesh unit into a mains socket and let it power up, which can take a minute or two.
- Open the manufacturer's app and follow the prompts to create an account and detect the unit.
- Name your network and set a Wi-Fi password when asked. Pick something you'll remember, since every device in the house will need it.
Most apps automatically detect if you need to put the hub into modem mode and will walk you through that step too.
Step 3: Add the Rest of the Units
Once the main unit is online, the app will usually ask if you want to add more units straight away. Even though you'll move them to their final spots shortly, it's easier to set them all up close together first, then relocate them once they're talking to each other.
- Plug in the second unit near the main one and wait for the light to settle (check the app for what a "ready" light looks like, since colours vary by brand).
- Follow the app's prompts to add it to your mesh network.
- Repeat for any additional units.
Once every unit shows as connected in the app, you're ready to move them to their proper locations.
Step 4: Work Out Where Each Unit Should Go
Placement is where most mesh systems succeed or fail, so it's worth taking a bit of care here.
- Spread them through the home, not along one wall. A unit in the hallway and another upstairs usually beats two units in the same room.
- Keep consecutive units within two rooms of each other. If the signal has to pass through three or four walls to reach the next unit, performance drops noticeably.
- Avoid cupboards, behind the TV, and metal cabinets. These all block or reflect the signal in ways that hurt coverage.
- Put one unit near the areas you actually use. A unit near the sofa or home office matters more than one in a spare room nobody sits in.
- Elevate them where possible. A shelf or sideboard works better than the floor.
For a typical three to four bedroom UK house, three units spaced through the ground floor, landing and a far bedroom usually gives solid whole-house coverage. Smaller flats often manage fine with two.
If you're torn between a mesh system and a single plug-in extender, Mesh Wi-Fi vs Range Extender: Which Do You Need? explains the difference in plain terms and might save you from buying more units than you need.
Step 5: Decide Whether to Wire the Units Together
This is one of the most common questions people have, so let's clear it up: no, mesh Wi-Fi systems don't need to be wired together to work. They're designed to pass the signal wirelessly from one unit to the next, which is the whole point of a mesh. That said, wiring does help in certain situations.
- If you have spare Ethernet sockets in the walls, running a cable from the main unit to a satellite unit (sometimes called a wired backhaul) gives you a more stable and often faster connection than relying on Wi-Fi between them.
- If your house has thick walls or an awkward layout, a wired satellite unit can rescue a spot that would otherwise struggle, like a converted loft or a garden office.
- If you're happy with wireless performance, there's no need to run cables at all. Most homes run a fully wireless mesh without issues.
Most mesh apps automatically detect an Ethernet connection between units and switch to using it, so there's rarely anything extra to configure. If you do want to wire a unit, just plug the cable into the LAN port on both units rather than the WAN port (WAN is only for the connection to your hub).
Step 6: Check Everything Is Working
Once the units are in their final spots, give the mesh network a proper test.
- Open the app and check that every unit shows as "connected" or "online" with a strong signal to its neighbour.
- Walk around the house with your phone, checking the Wi-Fi signal icon and trying a speed test in a few rooms.
- Confirm your devices are roaming between units rather than clinging to one. Some apps show which unit each device is currently connected to, which is handy for spotting problems.
If one room still feels weak, that unit may need to move a bit closer to the previous one, or you may need an extra unit to cover that gap.
Common Mistakes to Avoid
- Leaving the ISP hub's Wi-Fi switched on alongside the mesh. This creates two competing networks and causes devices to flip between them, which looks exactly like a broken mesh.
- Placing units too far apart. Mesh signal weakens with every wall and metre, so spacing them too widely leaves dead patches between units rather than solving them.
- Hiding units in cupboards or behind furniture. It's tempting for tidiness, but it noticeably cuts range and speed.
- Skipping firmware updates during setup. Most apps prompt for an update on first run; letting it finish properly avoids random disconnects later.
- Assuming more units always means better coverage. Beyond a certain point, extra units add handoff delay without much benefit if placement isn't sorted out first.
Conclusion
A mesh wifi system setup isn't complicated once you understand the basic flow: connect the main unit to your hub, add the rest nearby, then spread them through the house with sensible gaps between each. Wiring units together is optional and only really needed if you have spare Ethernet points or a particularly tricky layout. If something still isn't working after a reset and a bit of repositioning, it's often a placement issue rather than a faulty unit, so try moving things around before assuming the worst. For more on getting the best out of your home network, have a look at Router Settings Explained: What to Change and What to Leave.
FAQ
Do mesh Wi-Fi systems need to be wired together?
No. Mesh units communicate wirelessly by default, which is how they create a single roaming network. Wiring is optional and mainly useful if you have spare Ethernet points or want the most reliable possible link between two units.
Do mesh Wi-Fi systems need Ethernet at all?
Only the main unit needs an Ethernet cable, and that's to connect it to your broadband hub. Satellite units don't need Ethernet unless you choose to wire them for a stronger backhaul connection.
Why is my mesh Wi-Fi system not working properly?
The usual culprits are the ISP hub's Wi-Fi still being switched on, units placed too far apart, or a satellite unit that's lost its connection to the main unit. Restarting the whole system in order (hub first, then main unit, then satellites) often clears temporary glitches.
How many mesh units do I need for my house?
It depends on size and layout rather than a fixed rule. Most two to three bedroom homes manage with two units, while larger or multi-floor houses often need three. Thick walls and chimney breasts can mean you need more than the floor area alone suggests.
Can I use mesh Wi-Fi with my existing router instead of replacing it?
Yes, either by putting your router or hub into modem mode and letting the mesh take over routing, or by keeping the router active and connecting the mesh behind it with its own Wi-Fi switched off. Modem mode generally gives smoother performance.
Will mesh Wi-Fi fix slow speeds, or just patchy coverage?
Mesh mainly solves coverage and dead spots rather than your overall broadband speed, which is set by your internet package. If speeds feel slow everywhere, including near the main unit, the issue is more likely your connection or router settings. Router Settings Explained: What to Change and What to Leave is a good place to check that side of things.