Network 39
Fitting a roof rack to a Model Y is simple enough, but plenty of owners come away with a scratch, a chipped edge, or in rarer cases, a small crack near the mounting points on the glass roof. Search "model y roof rack cracked glass" and you'll find a steady stream of forum posts and Reddit threads from people who tightened a crossbar a bit too confidently or dropped a bar edge onto the glass while fitting it alone. This guide walks through why it happens and, more importantly, how to stop it happening to you. Expect to spend 20 to 30 minutes on the protective steps before you even touch your roof rack, and it's an easy job for anyone, no special tools or experience needed.
The Model Y's full glass roof is strong under normal driving conditions, but it's not designed to take direct, concentrated pressure from metal clamps or feet. Combine that with painted trim around the roof edges that scratches easily, and you've got two good reasons to add a layer of protection before your rack goes anywhere near the car.
What You'll Need
- Automotive-grade paint protection film (PPF) or anti-abrasion tape, pre-cut kits are available for Model Y roof rails and glass contact points
- Isopropyl alcohol (around 70%) and a microfibre cloth
- A heat gun or hairdryer (for film application)
- Rubber or felt roof rack pads, if not already included with your rack
- A soft plastic squeegee or credit card
- Your roof rack's fitting instructions
- A helper, strongly recommended for lifting and aligning the rack
Step 1: Understand Where the Risk Actually Is
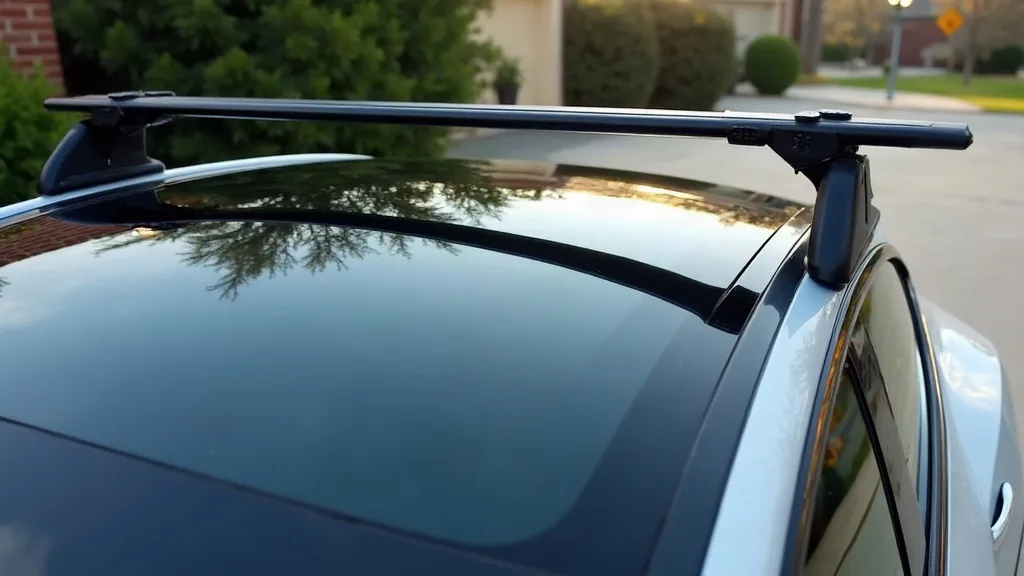
Before buying anything, work out where your particular rack touches the car. Most aftermarket crossbar systems for the Model Y clamp onto the fixed points along the roof edge, right where glass meets the painted trim strip. This junction is the danger zone.
- Look at your rack's fitting guide or the Model Y's own fixed point locations, covered in detail in our guide to Model Y roof rack dimensions and specs.
- Check whether your rack's feet or clamps sit directly on glass, on painted metal, or straddle both.
- Note any sharp edges, screw heads, or adjustment levers that might contact the roof during fitting, not just during driving.
Knowing this in advance means you can protect the exact spots that matter, rather than guessing.
Step 2: Clean the Contact Areas Thoroughly
Dirt and grit are often the real cause of scratches, not the rack itself. A gritty film between a clamp and the glass acts like sandpaper every time the car flexes or vibrates.
- Wash the roof area where the rack will sit using plain water and a soft sponge.
- Dry fully, then wipe the contact points with isopropyl alcohol on a microfibre cloth.
- Let the surface air dry for a few minutes before applying any film or pads. Any residue left behind will stop tape and film adhering properly.
Step 3: Apply Anti-Abrasion Tape or PPF to the Glass Contact Points
This is the step most people skip, and it's the one that prevents the majority of reported scratches and chips. Tesla model y roof rack anti-abrasion tape and paint protection film both work on the same principle: a sacrificial clear layer absorbs the friction and pressure instead of your glass or paint.
- Measure the footprint of each clamp or foot pad, then cut your tape or film slightly larger, roughly 5 to 10mm oversized on each edge.
- Peel back a small section of the backing and align the film with the contact point, leaving the rest of the backing in place for now.
- Slowly peel the backing away while smoothing the film down with a squeegee, working from the centre outward to push out air bubbles.
- If using thicker PPF, apply gentle heat with a hairdryer to help it mould around any curve in the glass or trim.
- Press firmly along all edges so nothing lifts when the rack clamp bites down.
- Repeat for every contact point on both sides of the roof.
Tesla Model Y roof rack PPF kits designed specifically for this car are worth the extra cost over generic tape, since they're shaped to match the roof's curve and fixed point layout. Generic tape works too, but needs more careful cutting and trimming.
Step 4: Fit Rubber or Felt Pads to the Rack Itself
Film on the car handles one side of the contact. The other side is the rack's own feet, which often have small moulded edges or exposed metal if the plastic coating has worn down. Tesla Model Y roof rack pads, sold separately or included with some kits, cushion this side of the equation.
- Check your rack's feet for any rough edges, raised screws, or thin plastic coating that's starting to wear through.
- Fit rubber or felt pads over each foot, following the shape of the existing clamp where possible.
- If no purpose-made pads exist for your rack model, adhesive felt furniture pads (the kind used under chair legs) work as a reasonable substitute for light use.
- Make sure pads don't bunch up or shift when you simulate tightening the clamp by hand.
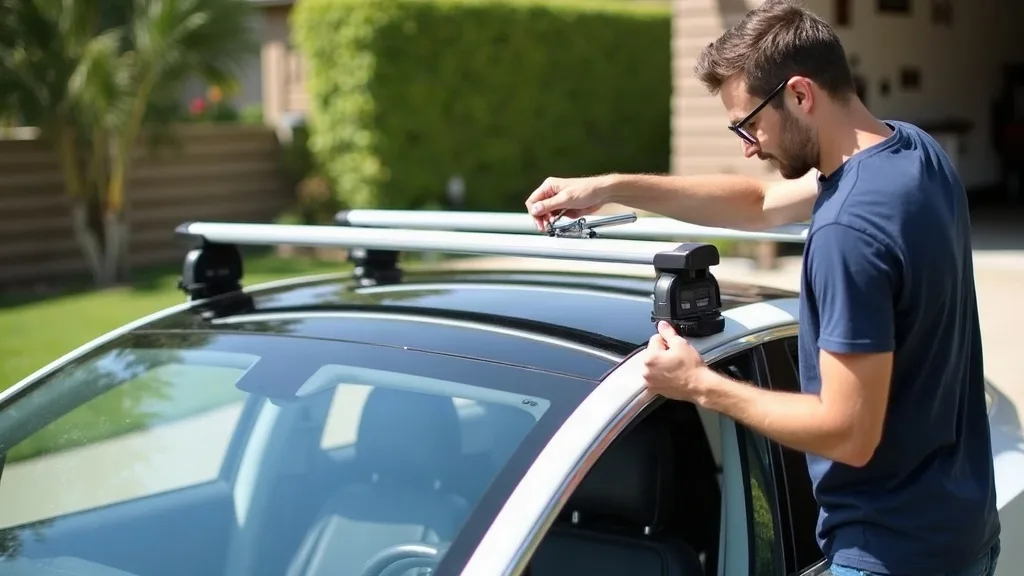
Step 5: Fit the Rack Carefully, With a Helper if Possible
Even with protection in place, careless fitting is still the most common cause of damage. A rack dropped from 10cm onto glass can still chip it, film or no film.
- Lift the crossbars into position together rather than dragging them across the roof.
- Line up each foot with its fixed point before lowering it down, rather than placing it roughly and sliding it into place.
- Tighten clamps evenly and only to the torque specified in your rack's instructions. Overtightening is a common cause of stress cracks near mounting points, and more torque doesn't mean a safer fit.
- Double check each clamp by hand after tightening to be sure nothing is sitting at an angle or pinching the edge of a protective film strip.
If you're planning to carry something like a kayak or surfboard, it's worth reading our guide on how to carry a kayak or surfboard on a Model Y before you load anything heavy, since uneven loading adds extra stress to these same contact points.
Step 6: Recheck Protection and Fit Periodically
Film wears, pads compress, and clamps can loosen slightly over weeks of driving. A five-minute check every month or so catches problems before they become expensive ones.
- Inspect the edges of your anti-abrasion tape or PPF for lifting, tearing, or grit buildup underneath.
- Check rack pads for flattening or cracking, replacing them if they've lost their cushioning.
- Retighten clamps if your rack manufacturer recommends periodic checks, which most do after the first few drives.
- Clean under the rack occasionally, since trapped dirt is exactly the kind of grit that causes slow scratching over time.
Common Mistakes to Avoid
- Fitting a rack straight out of the box without checking or protecting the contact points first.
- Overtightening clamps because the rack felt loose, rather than checking it's actually seated correctly.
- Using tape or film that's too small, leaving edges of the clamp touching bare glass or paint.
- Skipping the cleaning step, which leaves grit trapped under pads and film where it can't be seen.
- Assuming a Model 3 rack will fit without checking, since differences in roof shape can change where pressure lands (our guide on whether a Model 3 roof rack fits the Model Y covers this in more detail).
- Forgetting to recheck the setup after the first few trips, when most settling and loosening happens.
Conclusion
A cracked glass roof or scratched paint strip isn't an inevitable part of owning a Model Y roof rack, it's usually the result of missing a cheap, simple protective step. Clean the contact points, add anti-abrasion tape or PPF to the glass, pad the rack's feet, and fit everything carefully rather than rushing. Do that, and the model y roof rack cracked glass stories you've read online are very unlikely to become your own.
FAQ
Does Tesla recommend any specific protection for roof racks on the Model Y?
Tesla doesn't sell an official protection kit for third-party roof racks, so most owners rely on aftermarket PPF, anti-abrasion tape, or rack-specific pads. Always check your rack manufacturer's fitting guide too, since some already include contact pads.
Will anti-abrasion tape leave marks or residue on the glass?
Good-quality automotive tape and PPF are designed to be removed cleanly, especially within the first year or so. Leaving it on for several years in strong sun can occasionally cause slight adhesive residue, which usually comes off with isopropyl alcohol.
Can I use generic PPF instead of a Model Y specific kit?
Yes, generic PPF works fine as long as you cut it accurately to cover the contact points fully. Pre-cut Model Y kits just save time and reduce the risk of leaving gaps at the edges.
Is it the glass or the paint trim that's more likely to get damaged?
Both are at risk, but reports of actual cracking tend to involve the glass near fixed points, while scratching more often affects the painted trim strip. Protecting both areas covers either outcome.
Do roof rack pads affect how securely the rack fits?
No, properly fitted pads sit between the rack foot and the roof without loosening the clamp's grip. They cushion contact pressure rather than changing how tightly the rack locks on.
Should I remove the roof rack when not in use to reduce risk?
Removing the rack when you're not using it reduces wind noise and slightly improves efficiency, and it also means less time under tension for your protective film and pads. If you load and unload often, check out our guide on what comes with a new Tesla Model Y for related accessory tips that make this easier.