Network 39
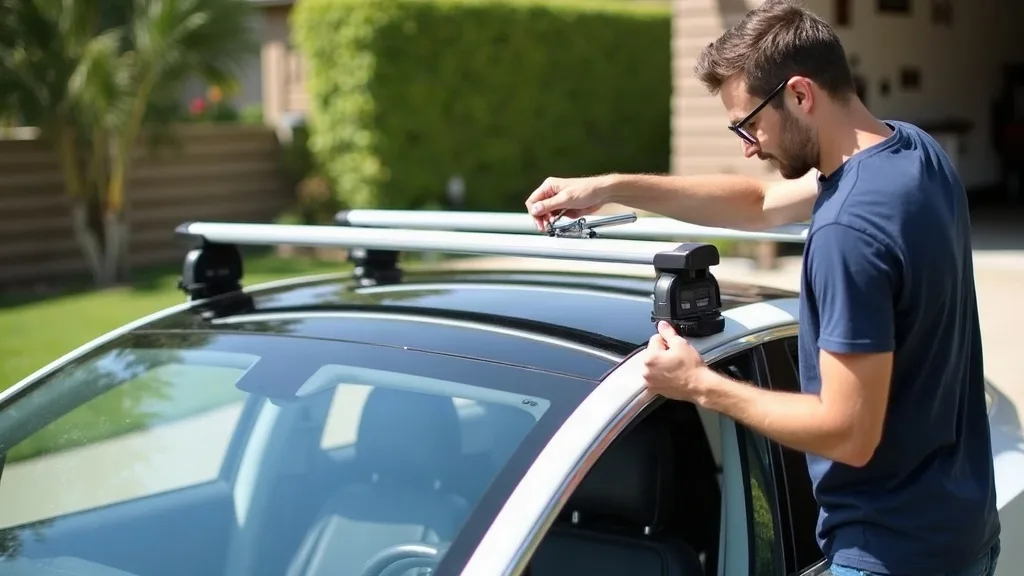
If you only need your Model Y roof rack for the occasional ski trip or kayak run, leaving it on all year doesn't make much sense. It adds wind noise, costs you a bit of range, and makes the car look like it's permanently ready for an adventure that isn't happening this week. Learning how to remove a Model Y roof rack properly takes about 10 to 15 minutes once you've done it a couple of times, and it's a job most owners can handle without any tools beyond what came in the box.
The trick isn't really the removal itself. It's doing it without scratching the roof, losing a small part, or wrestling with crossbars when you come to refit them next month. This guide walks through the whole process, step by step, and covers how to store everything so it goes back on cleanly.
What You'll Need
- The key or release tool that came with your roof rack (some systems use a hex key instead)
- A microfibre cloth
- A soft surface or padded area to lay the crossbars down on
- Storage bags or the original packaging, if you still have them
- A second pair of hands, useful but not essential
Step 1: Check Which Roof Rack System You Have
Tesla has used a couple of different roof rack designs on the Model Y over the years, and the removal process varies slightly between them. Some use a simple push-button release, others need a key or hex tool to unlock the mounting feet from the fixed points.
- Look at the base of each crossbar where it meets the roof.
- Check for a lock cylinder, a lever, or a button.
- If you're not sure which system you have, the Tesla Model Y Roof Rack: The Complete Owner's Guide has a breakdown of the different versions and how to tell them apart.
This matters because using the wrong technique, like forcing a lever that's actually meant to be turned with a key, is how people end up chipping the roof trim or bending a mounting foot.
Step 2: Remove Any Cargo or Accessories First
Before you touch the rack itself, take off anything attached to it. That means roof boxes, bike mounts, kayak cradles, or ski clamps.
- Unload any gear still strapped down.
- Unclip accessory mounts from the crossbars.
- Set them aside somewhere safe, ideally still attached to their own mounting clamps so you don't lose small parts.
If you regularly carry a kayak or surfboard, it's worth reading How to Carry a Kayak or Surfboard on a Model Y for tips on handling those straps and cradles without damaging the paint when you're loading and unloading.
Step 3: Locate the Release Mechanism on Each Foot
Most Model Y roof racks attach at four points, two per crossbar. Each one has its own lock or release catch.
- Find the small cover or cap on the mounting foot, if your system has one.
- Insert the key or hex tool into the lock, if required.
- Turn it in the direction shown in your rack's manual, usually anticlockwise to unlock.
Some newer aftermarket and OEM designs skip the key entirely and use a spring-loaded button instead. If yours does, you'll feel it click rather than needing to turn anything.
Step 4: Release Each Mounting Foot in Order
Work through the feet one at a time rather than trying to release all four before lifting anything. This keeps the crossbar steady and stops it sliding around on the roof.
- Unlock or release the first foot at the front of one crossbar.
- Move to the rear foot on the same crossbar and release it too.
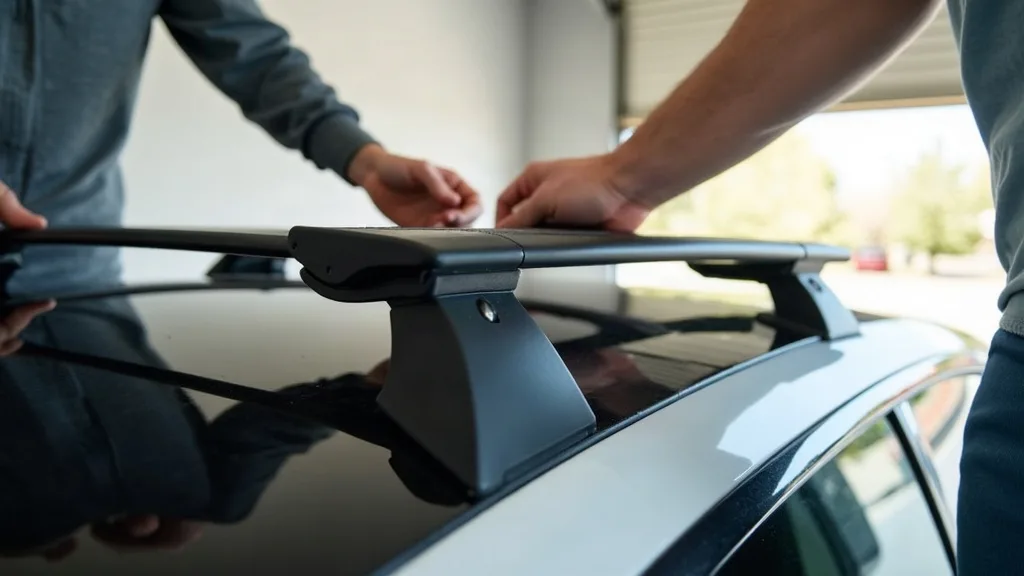
- Support the crossbar with your other hand as the second foot releases, since it can drop slightly once free.
- Repeat for the second crossbar.
Doing this with another person is easier, since one of you can hold the crossbar steady while the other works the release mechanism. It's not essential, but it reduces the chance of the crossbar swinging down and knocking the glass roof.
Step 5: Lift the Crossbars Straight Up and Away
Once both feet on a crossbar are released, lift it straight up rather than sliding it forward or back. Sliding can scratch the roof or the trim strips that the rack feet sit on.
- Grip the crossbar at both ends.
- Lift evenly, keeping it level.
- Move it away from the car before setting it down.
Lay each crossbar on a soft surface, like a towel on the garage floor or the back seat with a blanket down. This stops scratches on the crossbar's finish and keeps the rubber or plastic feet from picking up grit.
Step 6: Clean and Inspect the Mounting Points
With the rack off, take a minute to look at the fixed points on the roof. These are the small raised sections where the rack feet were sitting.
- Wipe each mounting point with a microfibre cloth.
- Check for any trapped grit, leaves, or water under where the foot was sitting.
- Look for scratches or marks on the glass or trim around each point.
If you notice scuffing around the glass edges, it's worth reading Protecting Model Y Roof Glass From a Roof Rack for ways to stop it getting worse once the rack goes back on.
Step 7: Fit the Covers or Caps Over the Fixed Points
Most Model Y roof rack systems come with small plastic caps that clip over the fixed mounting points when the rack isn't in use. These keep water and dirt out and give the roof a cleaner look.
- Find the caps, usually stored with the rack or in the boot when not fitted.
- Press each one into place over the exposed mounting point.
- Check they sit flush and don't rattle at speed.
If you've lost these caps, or any other small part from the rack system, the Model Y Roof Rack Keys and Replacement Parts guide covers where to source replacements.
Step 8: Store the Crossbars Properly
How you store the rack affects how easy it is to put back on. Crossbars left loose in a garage corner tend to get knocked, scratched, or have their feet misaligned.
- Lay the crossbars flat, ideally in their original box or a padded bag.
- Keep the feet facing the same direction so they don't dig into each other.
- Store the key or release tool somewhere you'll actually remember, not loose in a drawer full of other bits.
- If you have the fitting instructions, keep them with the rack rather than relying on memory next time.
A roof box or large plastic tote works well if you don't have the original packaging. The main goal is keeping the feet protected, since these are the part most likely to get bent or chipped in storage.
Common Mistakes to Avoid
- Sliding the crossbar instead of lifting it. This is the most common way people scratch the roof or trim.
- Releasing both feet on a crossbar before holding it steady. The bar can swing down and hit the glass roof.
- Losing the key or hex tool. Without it, you can't get the rack off or back on without buying a replacement.
- Skipping the mounting point caps. Leaving fixed points uncovered lets dirt and water build up, which can cause issues later.
- Storing crossbars loose and unprotected. Feet get bent, finishes get scratched, and refitting becomes harder than it needs to be.
- Forcing a locked mechanism. If a foot won't release, check you're using the right tool and turning it the correct way before applying more force.
Conclusion
Once you've worked out how to remove a Model Y roof rack the first time, it becomes a quick job you can do in the time it takes to unload the car. The main things to remember are lifting the crossbars straight up, working through the release points one at a time, and storing everything somewhere safe and dry. Do that, and refitting the rack for your next trip takes just as little time as taking it off did.
FAQ
Are Tesla Model Y roof racks removable?
Yes, all Tesla Model Y roof rack systems, including the official Tesla accessory and most aftermarket options, are designed to be removed when not in use. The fixed mounting points stay on the roof permanently, but the crossbars themselves lift off.
Do I need special tools to remove the roof rack?
Most systems only need the key or hex tool supplied with the rack. Some newer designs use a push-button release that needs no tools at all. Check your specific rack's manual if you're unsure which type you have.
How long does removal usually take?
Once you know the process, removing both crossbars typically takes 10 to 15 minutes. The first time might take a bit longer while you get used to the release mechanism.
Will removing the rack leave marks on the roof?
If done correctly, no. Lifting the crossbars straight up rather than sliding them avoids scratches. The fixed mounting points are designed to stay on the roof and shouldn't cause any damage on their own.
Can I leave the fixed mounting points on permanently?
Yes, these are designed to stay attached even when the crossbars are off. Fitting the plastic caps over them keeps dirt and water out and gives the roof a tidier look between trips.
What's the best way to store the rack between uses?
Lay the crossbars flat in a padded bag or their original box, keep the feet protected, and store the key or tool somewhere you won't lose it. This makes refitting much easier next time you need it.