If you've ever tripped over a Wi-Fi extender cable or watched your signal drop the moment you walk into the garden room, running Ethernet cable through your house is the fix that actually sticks. A wired connection beats Wi-Fi for speed, stability and those rooms that seem to swallow signal whole. This guide walks you through planning routes, picking the right cable, and getting it all in place without tearing your house apart. Expect to spend a weekend on a full-house job, or an afternoon if you're just running one or two drops. Difficulty ranges from easy (surface-mounted trunking) to moderate (running cable through walls and lofts).
What You'll Need
- Cat6 or Cat6a Ethernet cable (buy a box, not pre-made leads, for long runs)
- RJ45 connectors and a crimping tool, or a punch-down patch panel
- A cable tester (cheap ones work fine for home use)
- Fish tape or a draw wire for pulling cable through walls and voids
- A stud finder
- Cable clips, trunking, or adhesive cable channel
- A drill with a long spade or auger bit (for drilling through joists or studs)
- Wall plates and a face-plate punch tool if you want proper termination points
- A torch and a loft ladder if you're routing through the roof space
- Masking tape and a marker pen for labelling cable ends
Step 1: Plan Your Cable Routes Before You Buy Anything
Walk through your home and mark where you need a wired connection: the router location, a games console, a smart TV, a home office desk, maybe a garden office or workshop. Then think about how the cable will actually get from A to B.
- Look for a "spine" route, usually the loft, under-floor void, or a cable tray in a hallway, that lets you drop cables down into rooms below.
- Check whether rooms share a wall with the loft or with each other, since drilling through a single wall is far easier than threading cable across a whole floor.
- Decide on a central point for all your cables to meet, often near the router or in a cupboard, so you can use a patch panel or small switch.
- Measure each run generously and add 2 to 3 metres extra per cable for slack, bends and termination.
If this planning stage feels overwhelming, it helps to first work out which rooms genuinely need wired coverage and which ones Wi-Fi can handle. Our guide on how to extend Wi-Fi range to every room can help you decide where cable is worth the effort.
Step 2: Choose the Right Cable Type
Not all Ethernet cable is equal, and the wrong choice means redoing work later.
- Cat6 handles speeds up to 1 Gbps comfortably over typical home distances, and it's the sensible default for most houses.
- Cat6a supports 10 Gbps over longer runs and resists interference better, worth it if you're future-proofing or running cable near electrical wiring.
- Solid core vs stranded: solid core cable is cheaper and better for fixed in-wall runs, while stranded is more flexible and suited to patch leads you'll move occasionally.
- Outdoor-rated cable: if a run goes outside, even briefly through a garden, choose cable rated for outdoor or direct burial use. Standard indoor cable degrades quickly outdoors.
If you're wondering whether Ethernet is even worth the hassle compared with newer wireless standards, it's worth reading what Wi-Fi 7 is and whether you need it before you commit to a full cabling project.
Step 3: Decide Between In-Wall Runs and Surface Trunking
This is the big decision, and it depends on how much disruption you're willing to accept.
In-wall running means drilling through studs or masonry and hiding cable inside the wall cavity, loft, or under floorboards. It looks clean and permanent but takes longer and may need patching plaster afterwards.
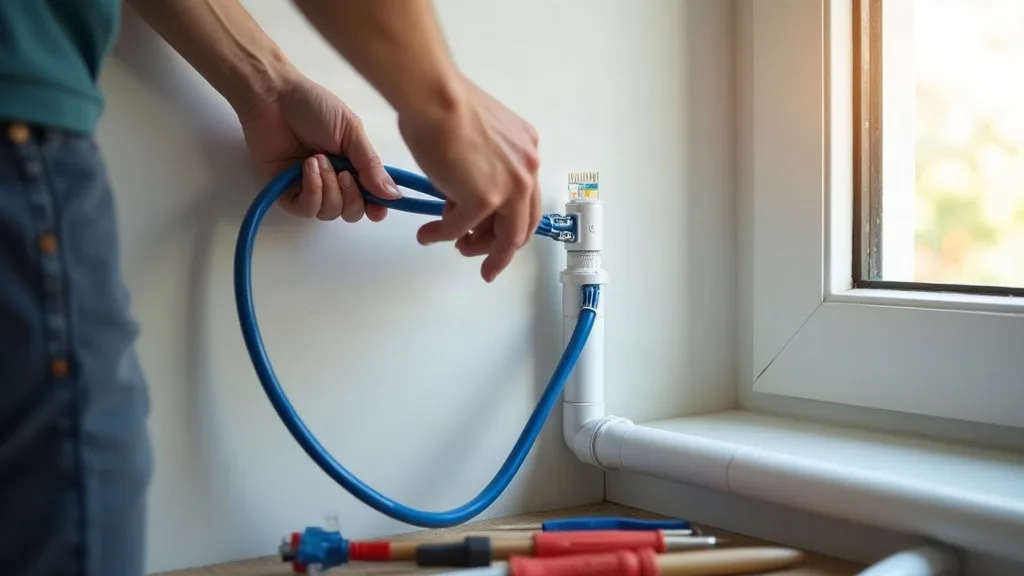
Surface trunking means clipping or sticking cable channel along skirting boards, door frames and wall edges. It's far quicker, needs no drilling into structural walls, and is fully reversible, which makes it the better choice for renters.
For most homes, a mix works best: use the loft or under-floor space for the long horizontal run, then drop down through a small drilled hole into each room, finishing with a short length of surface trunking to the wall plate.
Step 4: Run the Cable Through Lofts and Floor Voids
Lofts are usually the easiest route because there's open space above your ceilings.
- Lay cables along or beside the joists, never directly on top of insulation where they can get buried and forgotten.
- Use cable clips or loose ties to secure runs every 30 to 50 cm, keeping them away from recessed light fittings and anything that generates heat.
- Drop cable down into rooms through existing gaps, such as around pipework or old cable holes, before drilling a new one.
- If you must drill through a joist, drill through the centre third of its depth, not near the top or bottom, to avoid weakening it.
Under-floor voids work the same way, though they're harder to access unless you have a suspended timber floor with removable boards.
Step 5: Drop Cables Down Walls Cleanly
Getting cable from the loft down into a room usually means feeding it through an internal wall cavity.
- Use a stud finder to locate a cavity between two studs, ideally close to where you want the wall plate.
- Drill a small pilot hole from the loft down into the wall cavity, checking first for pipes or existing cables.
- Feed a weighted draw wire or fish tape down through the hole until it appears at the socket location.
- Tape your Ethernet cable to the draw wire and pull it back up, working slowly to avoid snagging.
- Cut a neat hole for a wall box or surface mount box at the bottom, then terminate the cable onto a wall plate.
Solid masonry walls are trickier, since you can't drop cable through a cavity. In these cases, surface trunking along the skirting board is often the more practical option.
Step 6: Terminate and Test Every Cable
A cable run is only as good as its connections.
- Strip the outer sheath carefully, leaving the coloured pairs intact.
- Follow the same wiring standard (T568B is the UK norm) at both ends of every cable, including patch panels.
- Punch down or crimp each cable onto its wall plate and connector.
- Test every run with a cable tester before you close up any walls or hide cables behind furniture. This step saves hours of troubleshooting later.
- Label each cable at both ends with a marker or tape flag, noting the room it serves.
Once everything's connected, check your actual speeds to confirm the wiring is doing its job. Our guide to running accurate broadband speed tests explains how to test properly, wired and wireless, so you can compare before and after results.
Step 7: Set Up the Central Point
Bring all your cable runs together at one spot, usually near your router or in a cupboard with power nearby.
- Terminate all cables onto a small patch panel if you've run more than three or four, or straight into a switch if you've only got a couple.
- Connect the patch panel to a network switch with short patch leads.
- Connect the switch to your router with a single short cable.
- Tidy the area with cable ties or a small patch panel bracket so it doesn't become a tangle over time.
If you're adding separate network access for guests or smart devices at this stage, it's worth setting up a guest Wi-Fi network while you have everything open and accessible.
Step 8: Consider Renter-Friendly Alternatives
If drilling holes isn't an option, you still have ways to get a wired-like connection without permanent changes.
- Surface trunking that clips or sticks on with removable adhesive pads, taken down easily at the end of a tenancy.
- Flat Ethernet cable, which runs under rugs or along door frames with barely any bulk.
- Powerline adapters, which send network signal over your existing electrical wiring instead of new cable. They're not as fast or consistent as real Ethernet, but they're genuinely useful in older properties or flats where cabling isn't allowed. Read our breakdown of whether powerline adapters work to see if they suit your setup.
- Mesh Wi-Fi systems as a wireless alternative when any form of cabling is off the table. Check our list of best mesh Wi-Fi systems for UK homes if that ends up being the more practical route.
Step 9: Know When to Call an Electrician
Most Ethernet cabling is low voltage and safe for a confident DIYer, but some situations call for professional help.
- You need to drill through load-bearing walls or run cable near consumer units and mains wiring.
- Your home has solid concrete floors or walls where channels need to be cut rather than drilled.
- You want cabling integrated into a full rewire or renovation, where an electrician can route Ethernet alongside power cabling.
- You're not confident identifying what's hidden inside a wall before drilling.
A qualified electrician can also advise on separating data cable runs from power cables, which matters more than people expect since running them too close together can cause interference.
Common Mistakes to Avoid
- Running Ethernet cable directly alongside mains electrical cable for long stretches, which can cause interference and dropped connections.
- Buying cheap cable with thin copper or copper-clad aluminium conductors, which performs poorly over longer runs.
- Skipping the test step and closing up walls before confirming every cable works.
- Drilling through joists or studs without checking for pipes, cables or structural limits first.
- Forgetting to label cables, leaving you guessing which one goes where months later.
- Using indoor-only cable for a run that passes through a garden, loft edge, or anywhere exposed to damp.
Conclusion
Learning how to run Ethernet cable through your house isn't as daunting as it sounds once you break it into planning, choosing cable, routing it cleanly, and testing everything properly. Whether you go for a full in-wall job or stick with renter-friendly trunking, the result is the same: faster, more reliable connections in the rooms that actually need them. Take your time with the planning stage, test before you close anything up, and don't be afraid to bring in an electrician for the trickier bits.
FAQ
How long does it take to run Ethernet cable through a whole house?
A full-house job with several rooms typically takes a weekend, including planning, drilling, and testing. A single room or short run can often be done in an afternoon.
Can I run Ethernet cable without drilling any holes?
Yes. Surface trunking, flat cable under rugs or along door frames, and powerline adapters all avoid drilling entirely, though trunking and flat cable give more consistent performance than powerline.
What's the difference between Cat6 and Cat6a cable?
Cat6 comfortably supports gigabit speeds over home distances and costs less. Cat6a supports much higher speeds over longer runs and handles interference better, which matters more for future-proofing than everyday use.
Do I need a patch panel, or can I wire straight into a switch?
For two or three cables, wiring straight into a switch is simpler and works fine. If you're running more than that, a patch panel keeps things tidy and makes future changes easier.
Is it safe to run Ethernet cable near mains electrical wiring?
Short crossings are fine, but running Ethernet parallel to mains cable for long stretches can cause interference. Keep at least 30 cm of separation where possible, or cross at right angles.
Should I hire an electrician for the whole job, or just parts of it?
Most people can handle the cable running and termination themselves. Bring in an electrician for anything involving load-bearing walls, solid concrete, or work near your consumer unit.