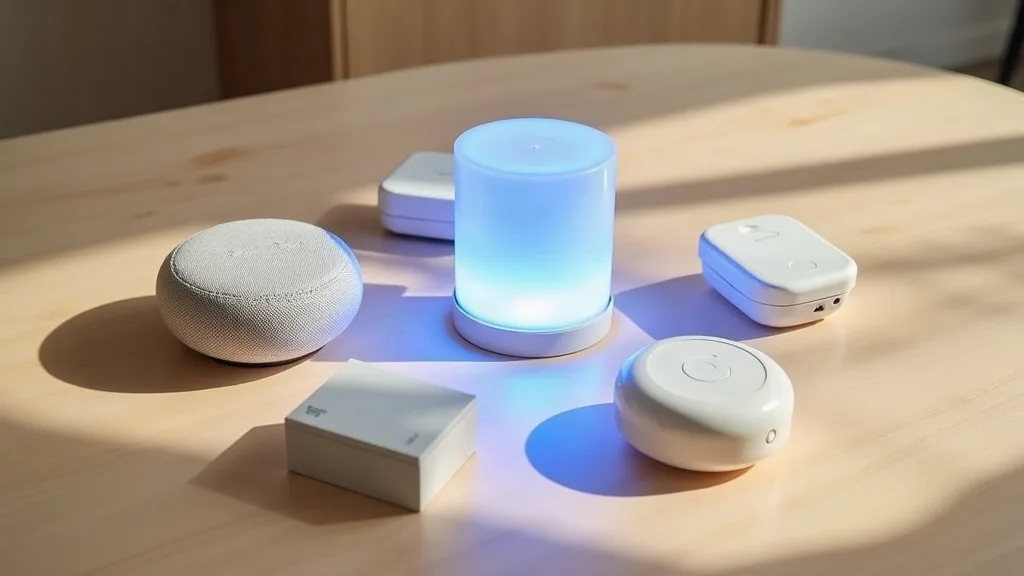
Smart speakers, plugs, bulbs and cameras all sound simple to add until the third one refuses to connect and you're left wondering why your Wi-Fi suddenly feels sluggish. A proper smart home Wi-Fi setup takes a bit of planning, but nothing beyond what most people can manage in an afternoon. Give yourself about an hour for the initial setup, plus a bit more time each time you add new devices. This guide walks through the whole process, from checking your router settings to keeping everything running smoothly as your collection of gadgets grows.
What You'll Need
- Access to your router's settings (usually via an app or a web browser)
- Your Wi-Fi network name and password
- A list of the smart devices you plan to connect, or at least a rough idea of how many
- A smartphone with the manufacturer apps for your devices (Google Home, Amazon Alexa, Philips Hue, etc.)
- Patience for the first device, since it usually takes longer than the rest
Step 1: Understand Why 2.4GHz Matters
Most smart home gadgets, think plugs, bulbs, sensors and budget cameras, connect using 2.4GHz Wi-Fi rather than 5GHz. This isn't a design flaw. The 2.4GHz band travels further through walls and uses less power, which suits small battery-powered or low-cost devices.
The catch is that many modern routers combine both bands into a single network name, which can confuse older or cheaper smart devices during setup.
- Open your router's app or admin page.
- Look for wireless or Wi-Fi settings.
- Check whether you have one combined network name or two separate ones (one ending in something like "-5G").
If your smart device setup keeps failing, try temporarily splitting the bands so you can connect directly to the 2.4GHz one. You can usually merge them again afterwards once the device has joined. For more detail on how bands affect your network, our guide on choosing a router explains the differences in plain terms.
Step 2: Check Your Router's Device Limit
Routers have a practical limit on how many devices they can handle well, even if the technical maximum listed in the manual is much higher. Older or budget routers often start struggling once you pass 20 to 30 connected devices, especially if several are cameras or video doorbells that send data constantly.
- Count how many devices already use your Wi-Fi: phones, laptops, TVs, consoles.
- Add how many smart devices you're planning to install, including future ones.
- If the total is edging past 30, consider whether your router can cope or whether a mesh system or upgrade makes sense.
This matters more than people expect. A router that's fine for three people browsing and streaming might wobble once you add 15 smart plugs, a couple of cameras and a video doorbell. If you're not sure your current router is up to the job, our router buying guide covers what to look for.
Step 3: Set Up a Separate Network for Smart Devices (Optional but Useful)
Many routers let you create a guest network or a second SSID. Using this for smart home devices has two benefits: it keeps your main network less cluttered, and it adds a layer of separation if a cheap device ever has a security flaw.
- In your router's app, look for "Guest Network" or "Additional SSID."
- Give it a distinct name, something like "HomeDevices" rather than your main household name.
- Set a strong password and make sure it's on 2.4GHz if your router allows band separation.
- Decide whether to allow this network to talk to your main network. Some smart home systems need this for features like controlling devices from your phone while on the same Wi-Fi.
This step isn't essential for a handful of devices, but it becomes genuinely useful once you've got a dozen or more spread across different rooms.
Step 4: Name Your Network and Devices Sensibly
It sounds trivial, but a bit of planning here saves real frustration later. When you've got "Plug," "Plug 1," "Bulb," and "Bulb 2" all listed in an app, finding the right one at 11pm is no fun.
- Choose a clear, memorable name for your Wi-Fi network itself. Avoid spaces or unusual characters, as some devices handle them poorly.
- Within your smart home app, rename each device based on its location rather than its type: "Kitchen Counter Plug" instead of just "Plug 2."
- Group devices by room if your app supports it. Most major platforms, including Google Home and Amazon Alexa, let you create rooms.
- Keep a simple note (a phone notes app works fine) listing device names, locations and which app controls them.
This organisation becomes more important as numbers grow. Five devices you can remember. Twenty-five, and you'll be glad you named things properly from the start.
Step 5: Decide Whether You Need a Hub
Some smart devices connect directly to Wi-Fi. Others use a separate protocol, Zigbee or Z-Wave, which requires a hub (sometimes called a bridge) to translate between the device and your network.
- Check the packaging or product page for each device to see whether it needs a hub.
- If you're buying devices from one ecosystem, such as Philips Hue or SmartThings, they typically include or require their own hub.
- If you're mixing multiple brands, look at whether they support Matter, a newer standard designed to make different brands work together without separate hubs for everything.
- Plug the hub into your router directly with an Ethernet cable where possible, rather than relying on Wi-Fi for the hub itself. This tends to be more stable.
A hub adds a step to setup, but it also takes pressure off your Wi-Fi network, since Zigbee and Z-Wave devices talk to the hub rather than connecting to Wi-Fi individually. For homes with more than ten or so smart devices, a hub often makes the whole system more reliable rather than less.
Step 6: Place Your Router (and Any Hub) Sensibly
Where your router sits affects every device on your network, smart or otherwise. A router stuffed in a cupboard or behind a TV struggles to reach devices in other rooms.
- Position your router centrally in the home if possible, rather than in a corner or at one end.
- Keep it away from thick walls, metal cabinets and large appliances, which all weaken the signal.
- Elevate it slightly, on a shelf rather than the floor, since signal tends to spread better from a higher point.
- If you have a hub, keep it near the router or in a central spot too, especially for Zigbee devices that rely on a mesh of their own.
If you've got rooms that always seem to have weak signal, no amount of smart device troubleshooting will fix a genuine coverage gap. Our guide on extending Wi-Fi range to every room covers ways to fix dead zones before you add more devices to the mix.
Step 7: Add Devices One at a Time
It's tempting to unbox everything in one go, but adding devices one at a time makes troubleshooting far easier. If something goes wrong, you'll know exactly which device caused it.
- Set up the first device fully, including renaming it and testing it works, before opening the next box.
- Keep your phone's Bluetooth on during setup, since many devices use it briefly to get connected to Wi-Fi.
- Stay close to your router for the first setup of each device, especially for ones that will eventually live further away.
- Update each device's firmware if prompted, since the versions on new devices are sometimes older than you'd expect.
This slower approach feels less satisfying than tearing through five boxes in one sitting, but it avoids the headache of troubleshooting three half-connected devices at once.
Step 8: Test Reliability Before Adding More
Once you've got your first few devices running, give the network a few days before adding more. This lets you spot any slowdowns or dropouts before the system gets more complex.
- Check that smart devices respond promptly to app commands and voice assistants.
- Notice whether your general browsing or streaming has slowed down since adding devices.
- Restart your router if you notice general slowness, since this clears temporary congestion.
- If problems persist, our guide on why your Wi-Fi might be running slow walks through common causes and fixes.
Catching an issue with three devices is far easier than untangling one with fifteen devices all added in the same weekend.
Step 9: Plan for Growth
Smart homes rarely stop at three or four devices. Once people add a smart plug or two, cameras, sensors and bulbs tend to follow over the following months.
- Revisit your device count every few months and compare it against your router's practical limit.
- Consider a mesh Wi-Fi system if you're covering a larger home with multiple smart devices spread across floors.
- Keep firmware updated on your router and hub, since updates often improve stability with newer smart devices.
- Review device names and rooms occasionally, tidying up anything added in a hurry.
Thinking ahead doesn't mean buying extra kit you don't need yet. It just means checking in periodically rather than only noticing problems once the network is struggling under a load it wasn't set up for.
Common Mistakes to Avoid
- Trying to connect a smart device to 5GHz Wi-Fi when it only supports 2.4GHz, which causes setup to fail repeatedly for no obvious reason.
- Giving every device a generic name, making the app list confusing once you've got more than a handful of devices.
- Placing the router in an awkward spot (cupboard, corner, behind furniture) and then blaming individual devices for weak connections.
- Adding every new device in one session rather than testing each one before moving to the next.
- Ignoring your router's realistic device limit and wondering why things slow down once you pass 20 or 30 connected gadgets.
- Skipping firmware updates on the router, hub or devices themselves, which often fixes stability issues quietly in the background.
Conclusion
A smart home Wi-Fi setup doesn't need to be complicated, but it does benefit from a bit of structure. Understanding which band your devices need, naming things clearly, and adding gadgets gradually all make a noticeable difference once you're past the first few devices. The groundwork you put in now, checking your router's limits, placing it well and deciding whether you need a hub, pays off as your smart home grows. Most problems people blame on "faulty" devices actually trace back to Wi-Fi setup issues that are simple to fix once you know where to look.
FAQ
Do all smart home devices need 2.4GHz Wi-Fi?
Most do, particularly plugs, bulbs, sensors and budget cameras. Some newer or higher-end devices support 5GHz or both bands, but it's safest to check the product details and have a 2.4GHz option available during setup.
How many smart devices can my router handle?
It varies by router, but many budget and mid-range routers start struggling somewhere between 20 and 30 connected devices. If you're planning a larger smart home, a mesh system or router upgrade is worth considering.
Do I need a separate network for smart devices?
It's not essential for a few devices, but it helps once you have a dozen or more. A separate network keeps things organised and adds a layer of security separation from your main devices like laptops and phones.
What's the difference between a smart home hub and a router?
Your router manages your home Wi-Fi network generally. A hub (or bridge) translates between your network and devices using Zigbee or Z-Wave, which don't connect to Wi-Fi directly. Not every smart device needs a hub.
Why does my new smart device keep failing to connect?
This is usually a band issue (the device needs 2.4GHz but is trying to join 5GHz), a naming issue with special characters in your network name, or the device being too far from the router during initial setup.
Should I rename my devices and network before or after setup?
Renaming your Wi-Fi network is best done before you start adding devices, since changing it afterwards can disconnect everything temporarily. Renaming individual devices within their apps can happen any time, and it's worth doing as you add each one.