Setting up a new Wi-Fi smart camera should be a quick job, but it can turn into a frustrating loop of flashing lights and failed connections if you miss a step. This guide walks through a proper wifi smart camera setup from start to finish, including what to do when you move house, change your router, or need to reset a camera that's stuck. It covers Ezviz specifically, since it's one of the most common brands, but the same general steps apply to most similar apps. Expect this to take 15 to 30 minutes per camera, and you don't need any technical skills, just a bit of patience.
What You'll Need
- Your Wi-Fi smart camera or video doorbell, charged or plugged in
- A smartphone with the manufacturer's app installed (Ezviz, Tapo, Ring, Arlo, etc.)
- Your Wi-Fi network name (SSID) and password
- A 2.4GHz Wi-Fi network (most smart cameras don't support 5GHz)
- A stable internet connection
- A pin or small tool for the reset button, if your camera has one
Step 1: Download the App and Create an Account
Every Wi-Fi smart camera relies on an app to get connected, even if you plan to use it mainly through a browser later.
- Search for your camera's brand in the App Store or Google Play. For Ezviz devices, the app is simply called Ezviz.
- Create an account using your email address, then verify it if asked.
- Allow the app to send notifications and access your camera, location and local network when prompted. These permissions are usually needed for setup to work properly.
If you're setting up several smart devices at once, it's worth reading our Smart Home Wi-Fi Setup: A Beginner's Guide for a wider look at getting your network ready first.
Step 2: Check Your Wi-Fi Network
Before you even open the app to add a camera, make sure your network is in good shape.
- Confirm you have a 2.4GHz network available. Many routers broadcast both 2.4GHz and 5GHz under the same name, which can confuse smart cameras during setup.
- If your router combines both bands into one network name, you may need to temporarily split them or create a separate 2.4GHz-only network for setup.
- Make sure the camera will be within reasonable range of your router or an extender. Weak signal is one of the most common causes of setup failure.
If you're unsure why a device won't join your network at all, our guide on why won't my smart device connect to Wi-Fi covers the most common culprits in more detail.
Step 3: Power On the Camera and Put It in Pairing Mode
- Plug in or power up your camera. Most will show a flashing blue or orange light once ready.
- If it's a battery-powered doorbell, press and hold the setup button (check the manual, but it's often on the back or base) until you hear a voice prompt or see a flashing light pattern.
- For Ezviz cameras, listen for a voice confirmation such as "please wait for Wi-Fi configuration" or similar. This tells you it's ready to be added.
If the camera doesn't flash or respond at all, try a reset first (see Step 6), since some devices arrive already linked to a previous Wi-Fi profile from testing at the factory.
Step 4: Add the Camera in the App
This is the core of any wifi smart camera setup, and the steps are broadly similar across brands.
- Open the app and tap the "+" or "Add Device" button.
- Choose to scan a QR code if your camera came with one printed on the box or body, or select the device type manually from a list.
- Follow the on-screen instructions to connect your phone briefly to the camera's own temporary Wi-Fi signal, if asked. This is normal and only lasts a minute or two.
- Enter your home Wi-Fi name and password exactly as they appear, including correct capitalisation.
- Wait while the app sends the credentials to the camera and it joins your network. You'll usually see a progress bar or percentage counter.
- Once connected, give the camera a sensible name, such as "Front Door" or "Garden Camera", so it's easy to find later.
For Ezviz cameras specifically, this step is usually done through the "Scan to Connect" or "Wi-Fi Configuration" option inside the app, and most newer models support QR code scanning for a faster process.
Step 5: Test the Live Feed and Notifications
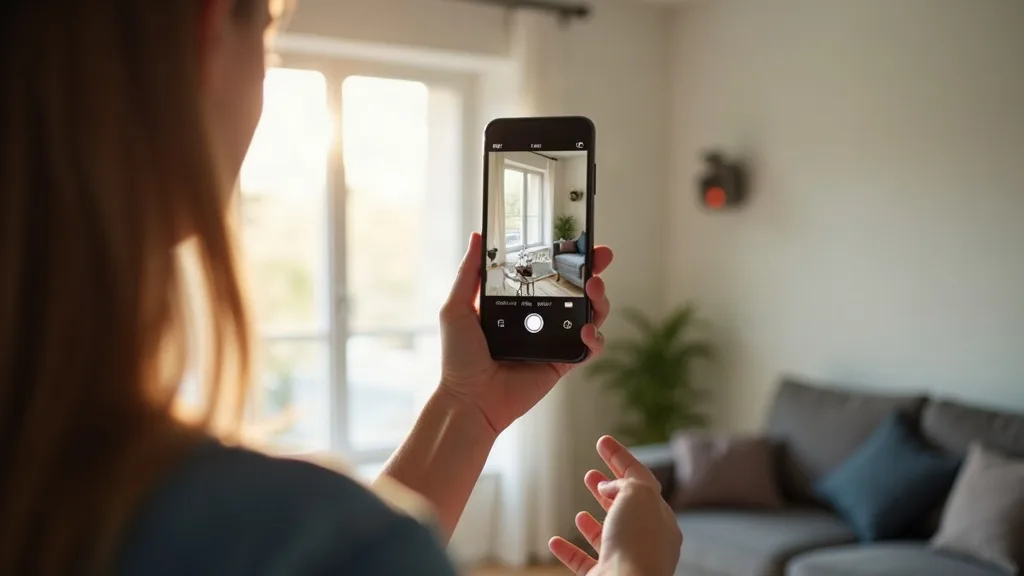
- Open the camera's live view within the app to confirm the picture loads clearly.
- Check the audio works both ways if your camera has a speaker and microphone, useful for doorbells.
- Trigger a motion test by walking in front of the camera, then check that a notification arrives on your phone within a few seconds.
- If notifications are delayed or missing, check the app's notification permissions in your phone settings, not just within the app itself.
Step 6: Reset the Camera if Setup Fails
Sometimes a camera won't pair, especially if it's second-hand or was previously linked to another account.
- Locate the physical reset button. It's often a small pinhole near the base, back or underside of the camera.
- Press and hold it with a pin for 5 to 10 seconds until you hear a reset confirmation sound or see the status light change.
- Wait for the camera to reboot fully before trying to add it again in the app.
- If the camera was previously linked to someone else's account (common with second-hand buys), you may need to remove it from the old account first, if you still have access, or contact the manufacturer's support for an unlink request.
Step 7: Change the Wi-Fi Network on an Existing Camera
If you've moved house, changed your router, or renamed your home network, your cameras will need reconnecting rather than just a password update.
- Open the app and select the camera you want to update.
- Look for a "Device Settings" or "Network" option within the camera's settings menu.
- Choose "Change Wi-Fi" or similar wording. On Ezviz, this is usually found under the camera's settings cog, then "Network".
- Some cameras let you change the network directly from here without a full reset. Others will ask you to repeat the QR code or pairing process from Step 4.
- If the camera won't accept the new network details, a full reset (Step 6) followed by a fresh setup is the most reliable fix.
This is also a good moment to double check your router is still broadcasting on 2.4GHz, since replacement routers sometimes default to combined-band settings that can confuse older cameras.
Step 8: Secure the Camera
Once everything's working, take a few minutes to lock things down properly.
- Change the default password if the camera uses one, and avoid reusing passwords from other accounts.
- Enable two-factor authentication in the app if it's offered, particularly for cloud-connected brands like Ezviz, Ring or Arlo.
- Keep the camera's firmware updated through the app, since updates often patch security issues as well as adding features.
- If you're techy enough to want remote access without relying on the manufacturer's cloud, it's worth reading about home VPN server hardware as an alternative way to view feeds securely from outside your home.
Common Mistakes to Avoid
- Trying to connect a camera to a 5GHz-only network, which most Wi-Fi smart cameras simply can't see.
- Typing the Wi-Fi password incorrectly, especially with mixed case letters or symbols that look similar on a small screen.
- Setting up the camera too far from the router, leading to a weak signal during pairing even if it seems to connect fine at first.
- Forgetting to remove a second-hand camera from the previous owner's account before trying to add it to yours.
- Skipping firmware updates, which can leave the camera running on an older, less stable version of its software.
- Assuming a doorbell camera's chime or hub also needs separate Wi-Fi setup, when it's usually paired to the camera itself rather than the router directly.
Conclusion
A proper wifi smart camera setup really comes down to getting the basics right: a 2.4GHz connection, accurate Wi-Fi details, and patience during the pairing process. Once you've done one camera, the rest tend to go much faster, since the steps barely change between devices or rooms. If you're expanding into a wider smart home setup with hubs, sensors and voice assistants, it's worth reading about Zigbee vs Z-Wave vs Wi-Fi vs Thread to understand how different devices talk to each other, and whether smart devices slow down your Wi-Fi as your network grows.
FAQ
How do I connect an Ezviz camera to Wi-Fi?
Open the Ezviz app, tap "Add Device", then scan the QR code on the camera or select it manually. Follow the prompts to enter your 2.4GHz Wi-Fi name and password, and wait for the connection to complete.
Why won't my smart camera connect to my Wi-Fi?
The most common reasons are trying to connect to a 5GHz network, a weak signal where the camera is placed, or an incorrectly typed password. Moving the camera closer to the router during setup often solves it.
How do I change the Wi-Fi network on my Ezviz camera?
Go into the camera's settings within the app, select "Network" or "Change Wi-Fi", then enter your new network details. If that option isn't available, reset the camera and set it up again as if it were new.
Can I set up a smart doorbell camera the same way as a regular camera?
Yes, the process is almost identical, though doorbells often need a press-and-hold on a physical button to enter pairing mode, rather than just powering on.
Do Wi-Fi smart cameras work on 5GHz networks?
Most don't. The vast majority of Wi-Fi smart cameras only support 2.4GHz Wi-Fi, so check your router settings if your network broadcasts both bands under one name.
What should I do if my camera won't reset?
Hold the reset button for a full 10 seconds, and check you're using a pin thin enough to actually press it fully. If nothing happens, unplug the camera, wait 30 seconds, then try again while holding the reset button as it powers back on.